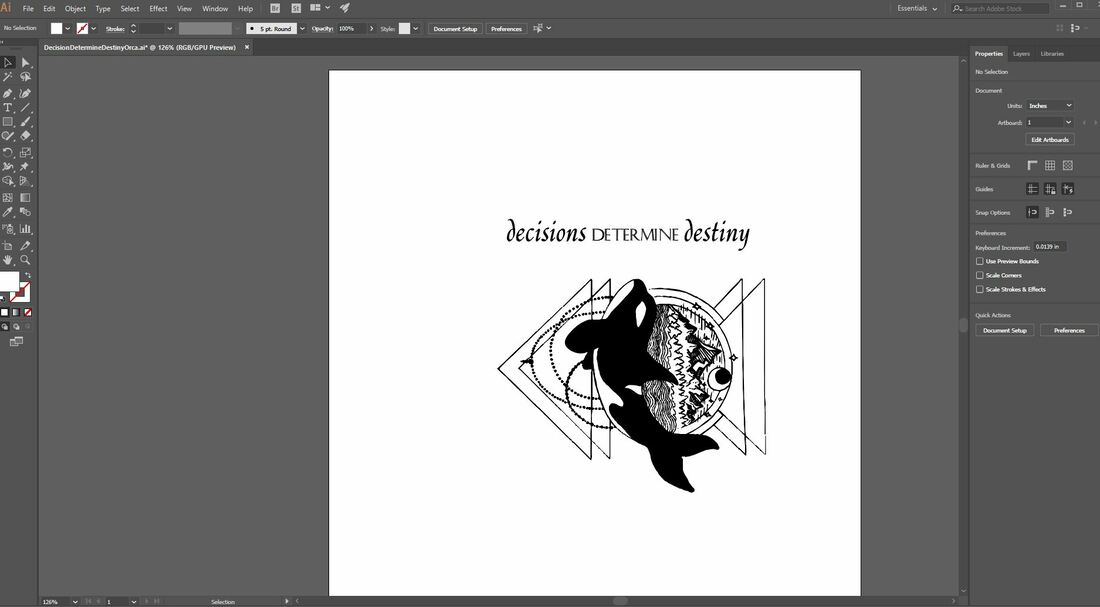
Designing and Creating the Water Bottle Design
For this project we were taking a purple water bottle given to us and engraving a design onto it, which would turn out silver. Once again we'd be designing it using Illustrator and then engraving it using the Universal laser. The design had to have both an image and text, but beyond that, we could do whatever we wanted.
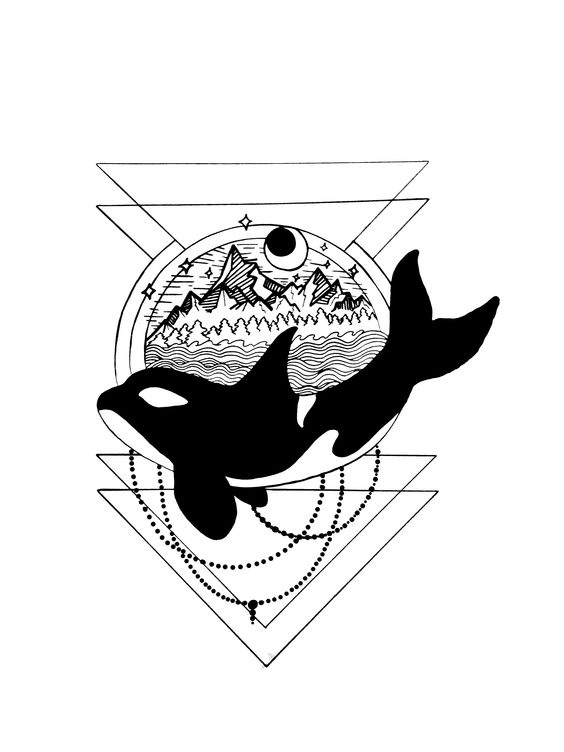
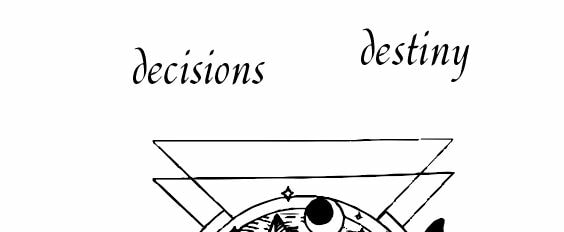
While I was waiting to engrave my keychain, I compiled a whole bunch of images I could use for my individual projects. It took me a few days to fully decide and cement which one I wanted to use for my water bottle, because I had a lot of potential designs I wanted to use. Eventually, I chose this one over the Umbrella Academy logo. Frankly, I think this one will work very nicely.
Then we had to set up the page. This one was quite large, 10" by 10". This was because the design was not of a set size. It was 5" tall, and then we had to measure the bottle to figure out how much wrap the design could have, or how long it can be. I had 8.2" available space.
Next we uploaded the image to Illustrator.
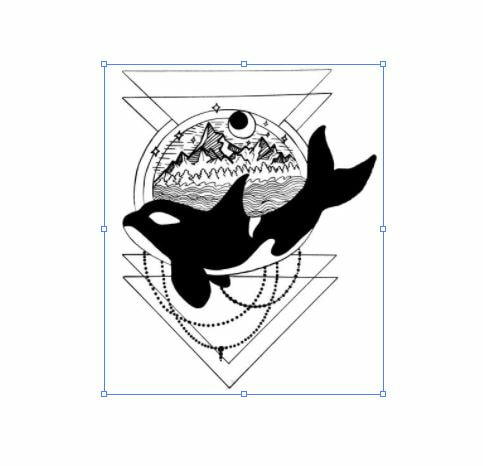
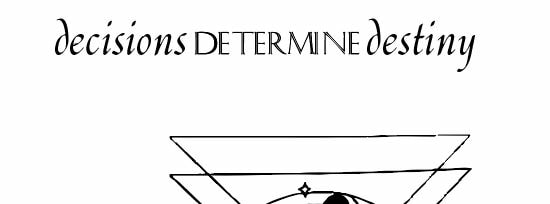
Now we have to change it to a vector image by clicking "Image Trace." This time, none of the presets matched what I was going for because the design has so many fine lines. I improvised with this part, and I clicked the "Advanced" drop down menu. I kinda just played around with it until I got a design that was the closest to what I wanted.

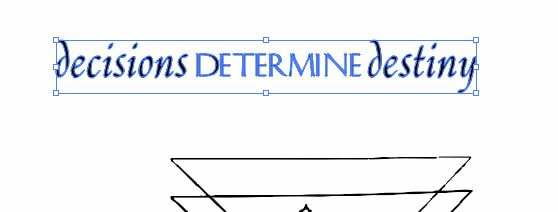
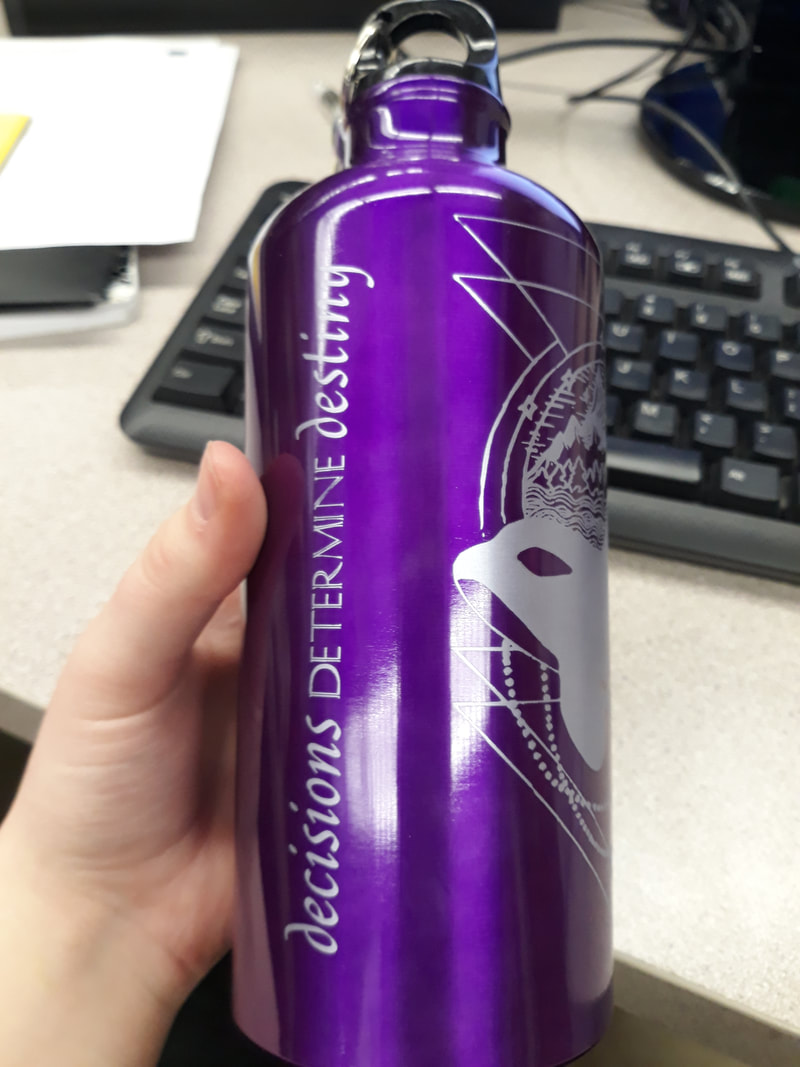
Now it was time for text. I wanted mine to read "Decisions Determine Destiny." I wanted two different fonts, so I had to create each word individually and splice them together afterwards.
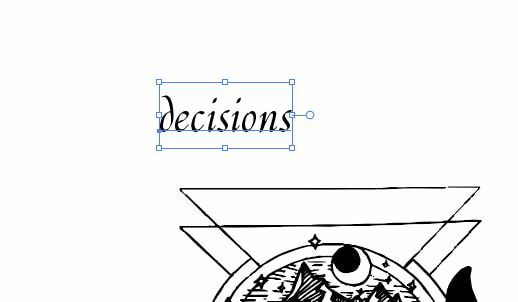
I created the last word next because the text tool retained the font from the last one. This way was less work, because I didn't have to switch my font twice.
Next I added the last (or rather, second) word. I lined them up so they were even and spaced appropriately.
Then we had to create outlines. This is essential because otherwise it's still text (as opposed to an image) and the laser won't know to engrave it.
Next I rotated it 90 degrees counterclockwise, as I wanted it to be on the side of my design.
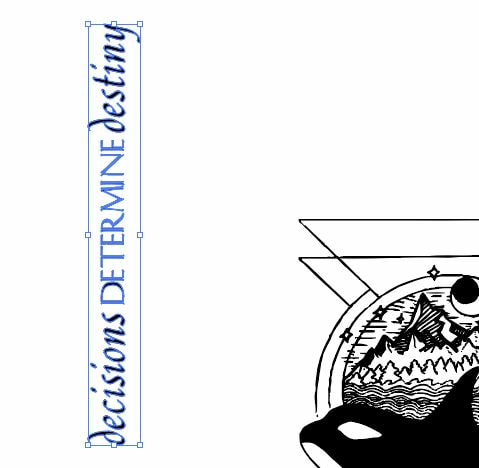
We then had to rotate it so that it wouldn't engrave sideways on the water bottle.
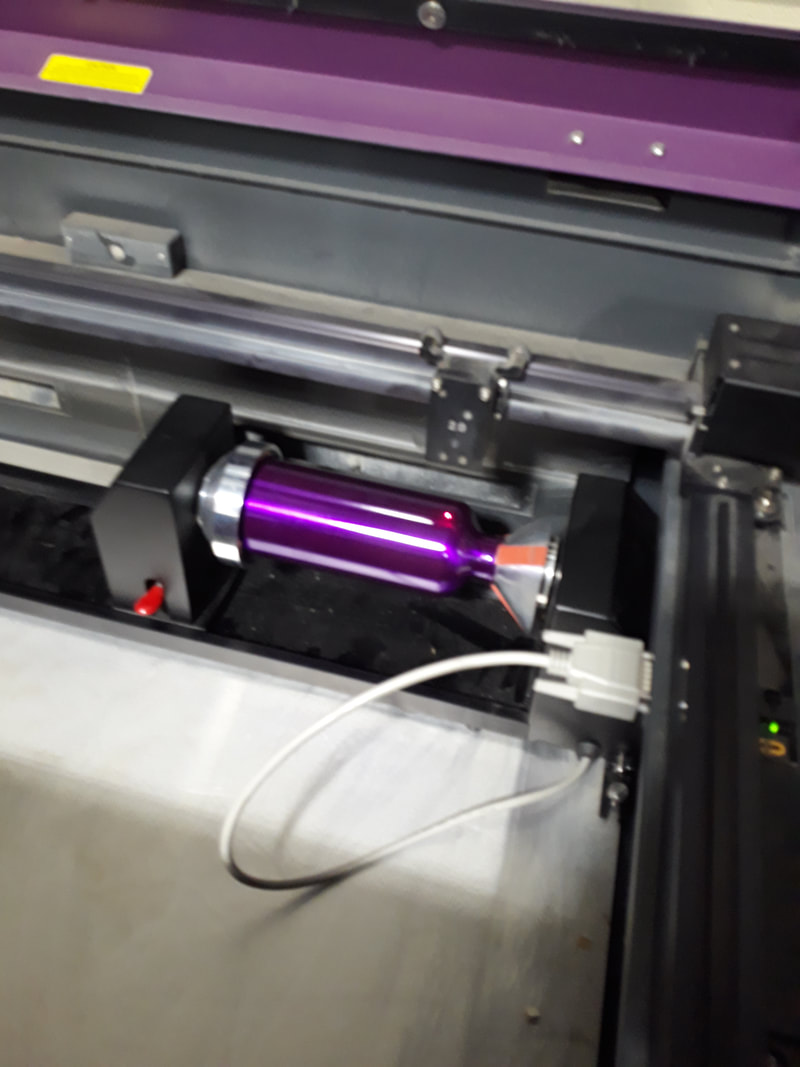
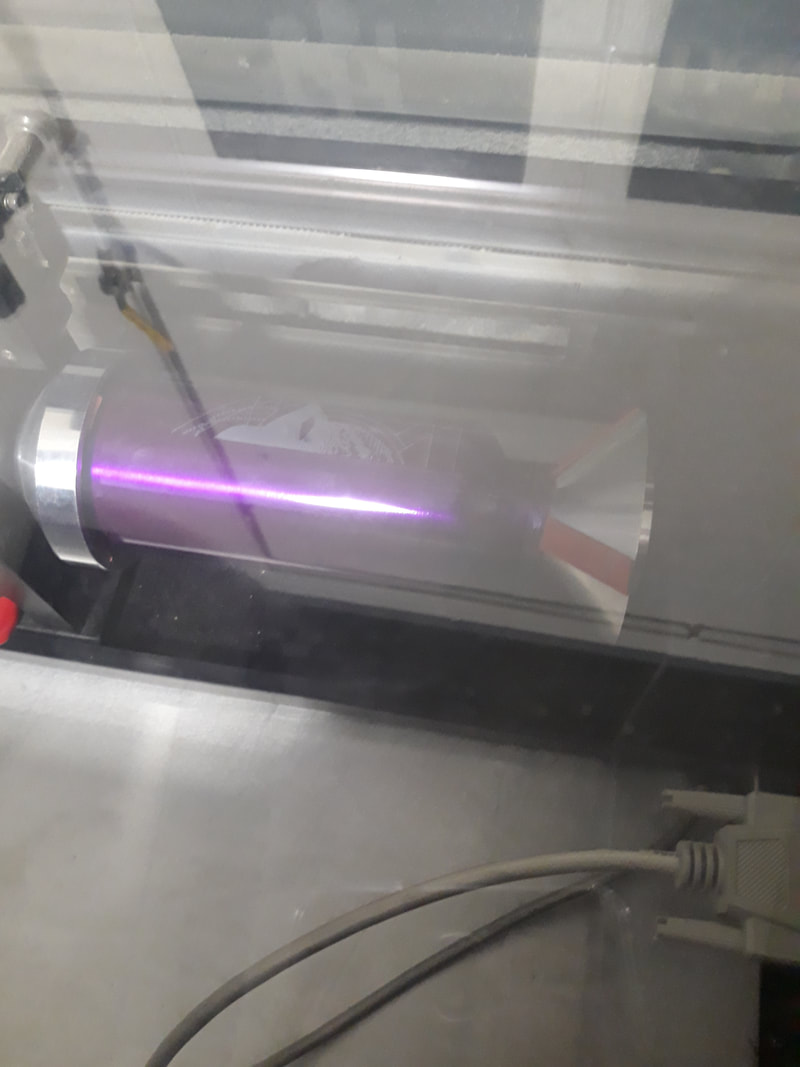
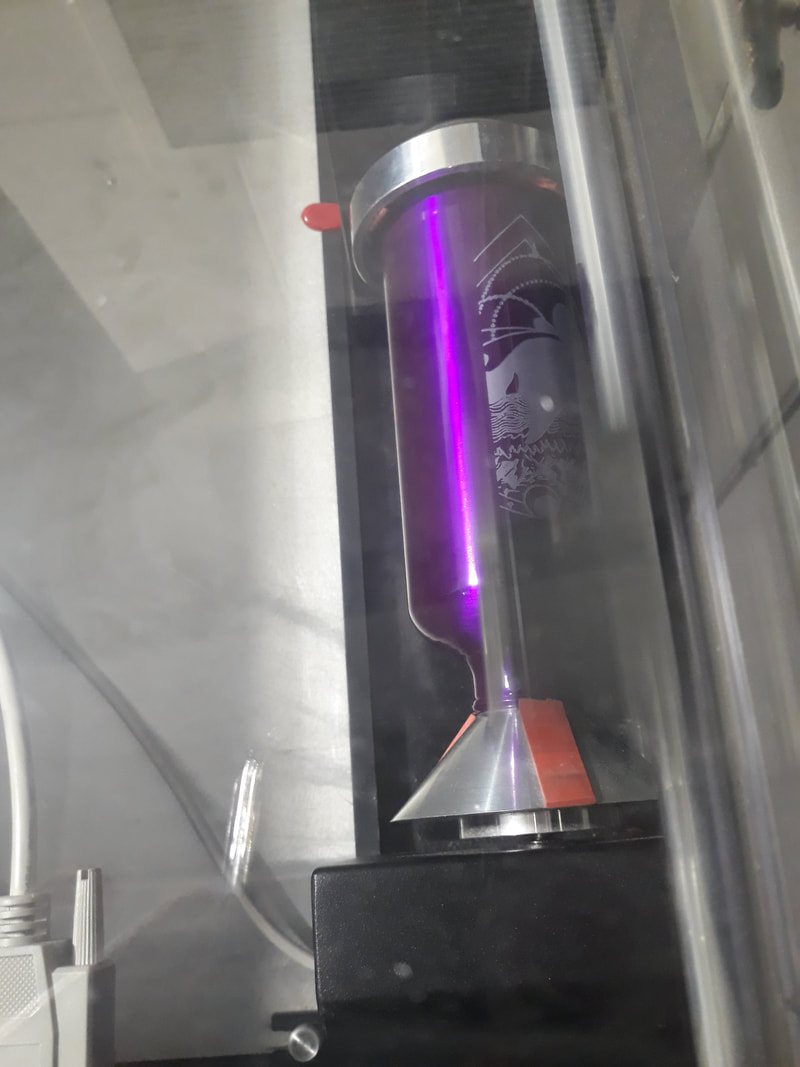
The next step was to set up the laser. For the water bottle, we could only use the large laser because we needed to put in the rotary jig. We needed to take out the laser bed to do this, then lock the rotary jig in place.
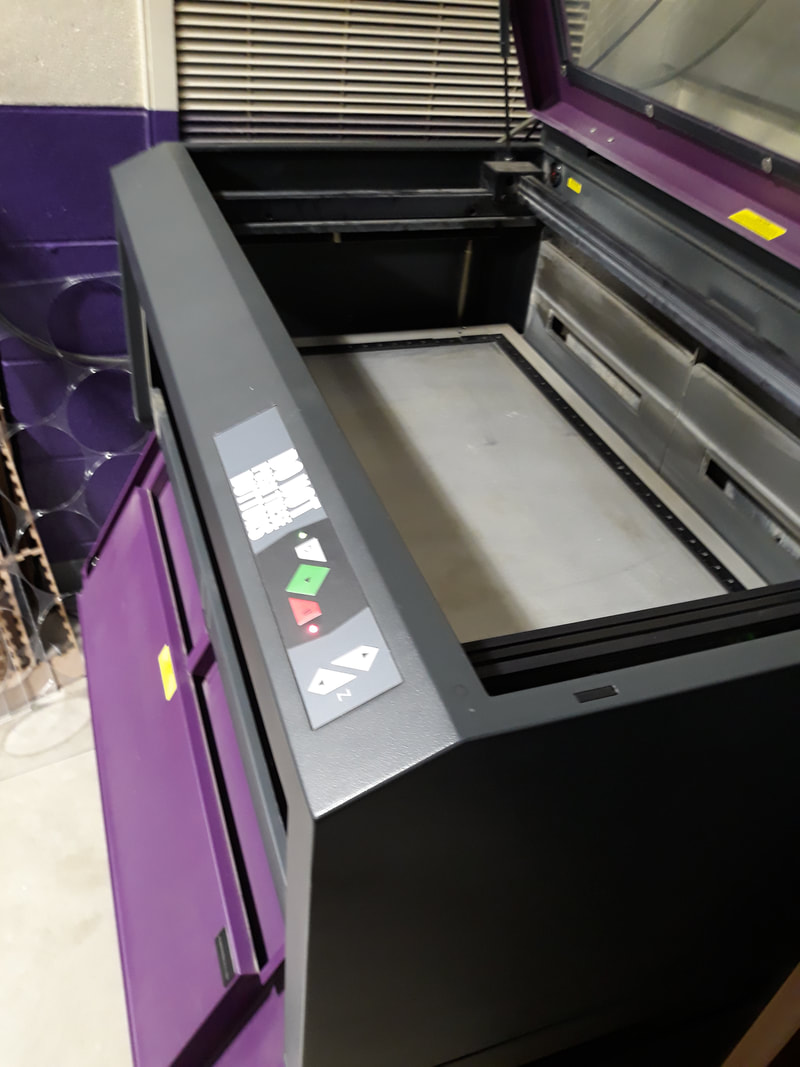
Then we put in the water bottle, making sure it was securely in place so it wouldn't fall out as the laser was running.
This is mine about 3/4 of the way done.
|
|
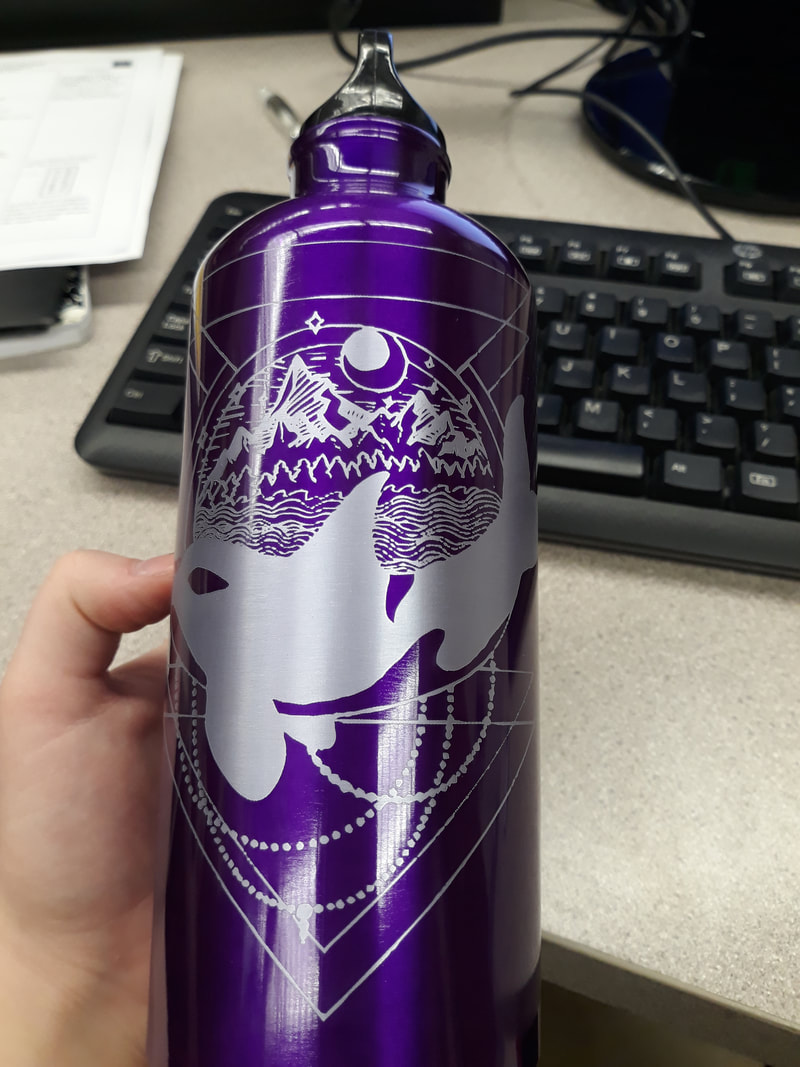
And here's the finished product! I'm very excited.
|
|
This was my favorite of the three laser projects by far. It's a lovely design and a great water bottle. I've been using it for several days, and it serves me very well. The only issues are that it takes a little longer than other bottles to unscrew, but that seems to be a common occurrence with this style of water bottle. The other issue is that it isn't entirely durable. I dropped it the day I made it and it dented quite bad, causing the bottom to curve outwards so now it tilts whenever I set it down, but that happens with a lot of metal water bottles.
I learned many things from this project, but most of all I learned patience. This one was a little difficult because I had to do three laser projects in three days, whereas other rotations were one project in three days. There were certainly a lot of things that didn't go well, and there were a lot of dead ends and roadblocks, but I got through it. I also ended up helping people figure out what they were supposed to be doing too, so that made me feel immensely better.
