What is Adobe Illustrator?
Illustrator is a graphic design program much like Photoshop. It works in vector and raster images, but it is more commonly used for the former. It is used to create artwork, logos, flyers, and much more, but we will be using it to create an engraved plastic keychain and a vinyl decal.
Creating a Keychain
The first step to creating the keychain is to come up with a design or pattern you want to engrave on it. For my design, I chose a Welcome to Night Vale design based on the Glow Cloud. (link to the podcast episode that explains the Glow Cloud -https://www.youtube.com/watch?v=due3u22Licw)
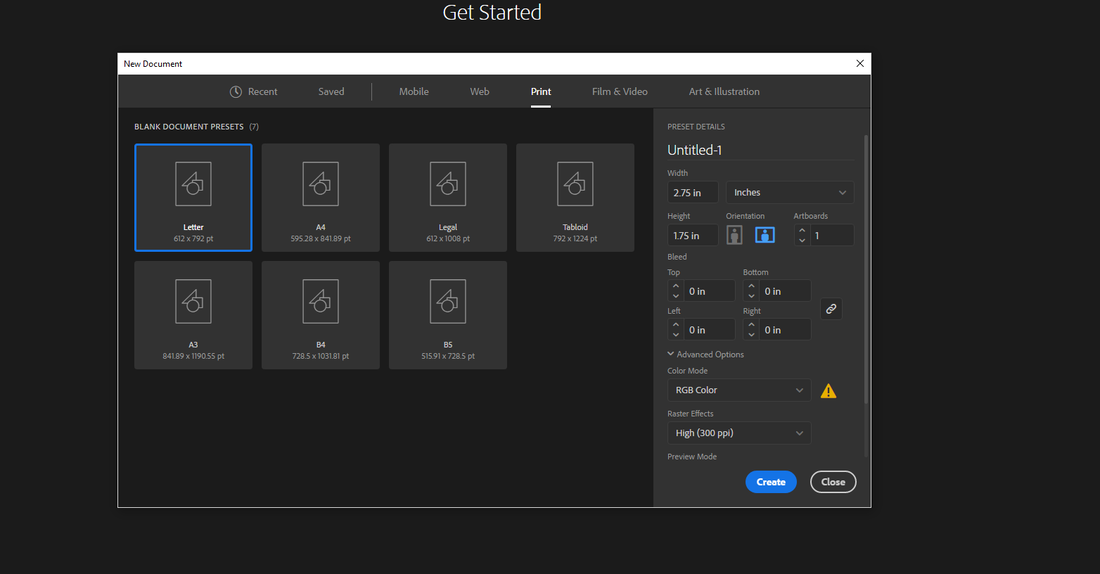
The next step is to actually open Illustrator. We set up the page exactly as shown to make sure the laser would respond properly to the instructions.
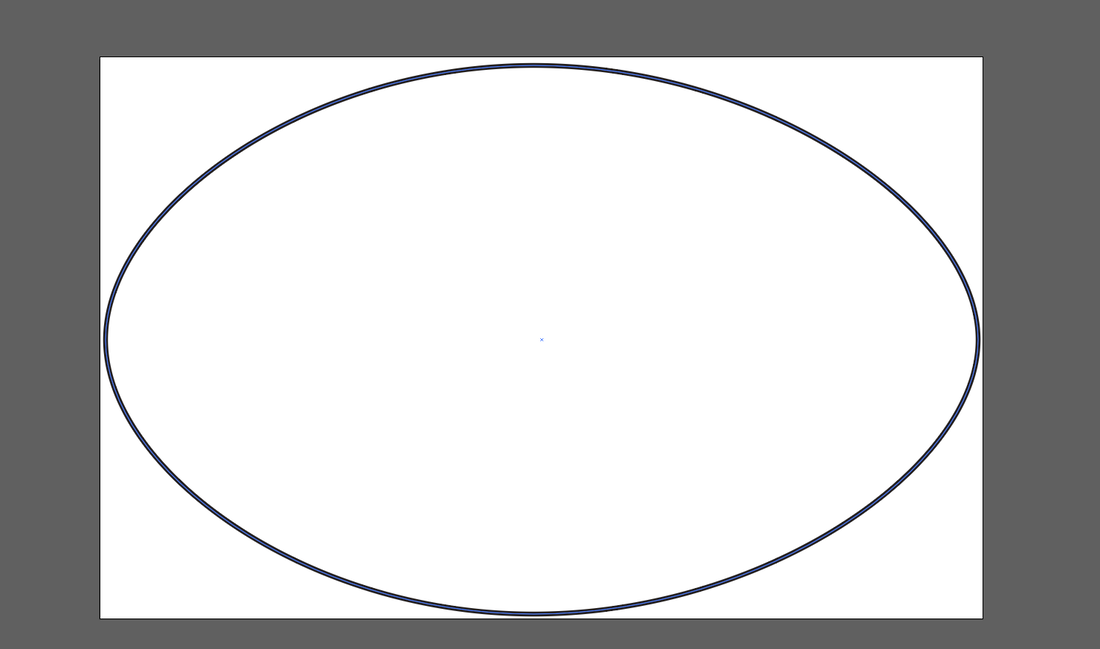
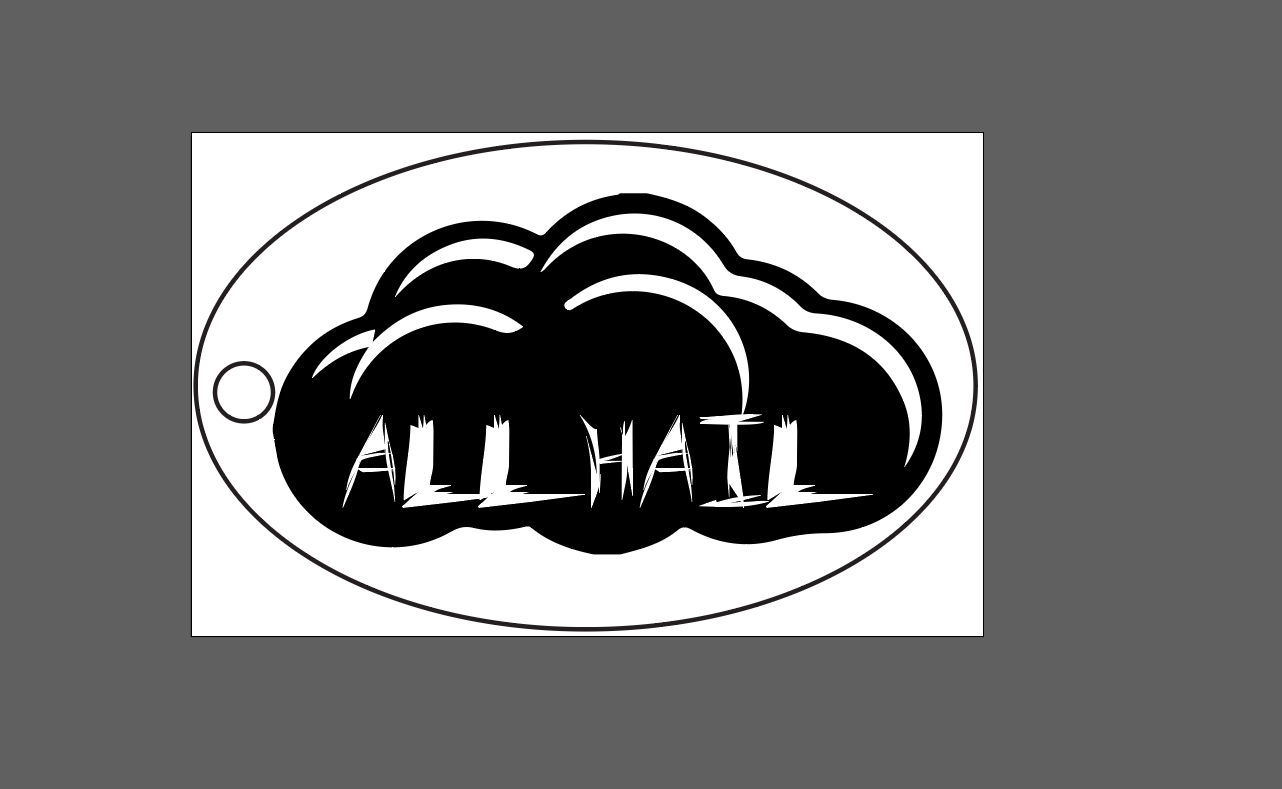
Before we did any drawing, we went to the toolbar along the top and clicked "Control." After that, we created the outline of the keychain.
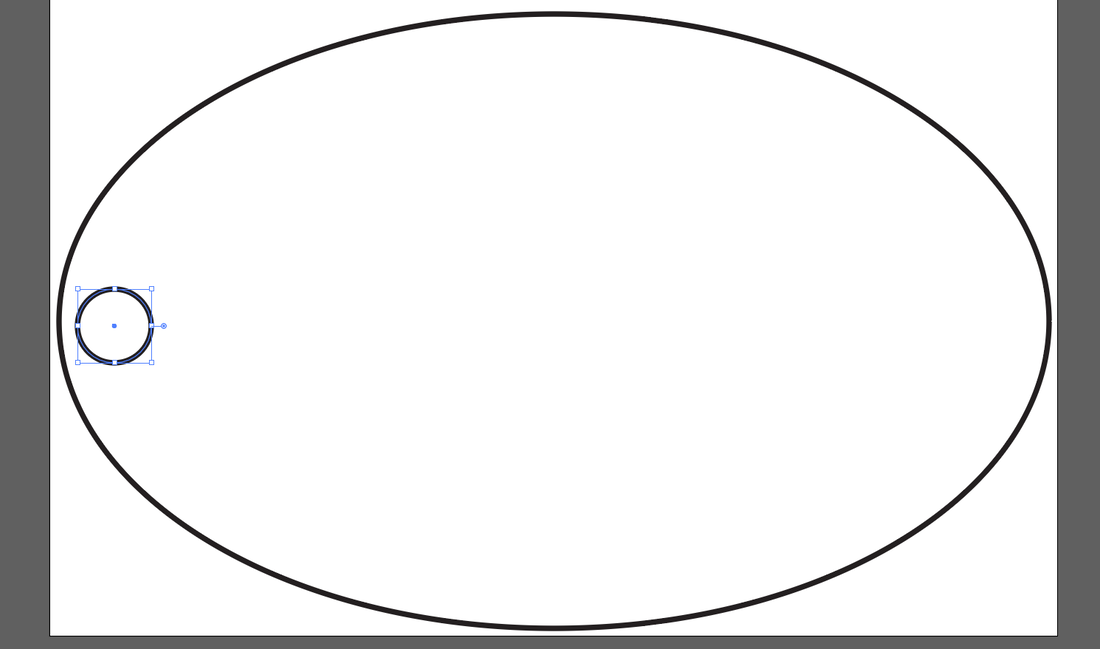
Next we created the hole for the ring, making sure it was no smaller that 0.2 inches squared.
After the initial outline was finished, we had to find a simple black and white clipart of an image we wanted engraved. It took a little searching, but I found my design.
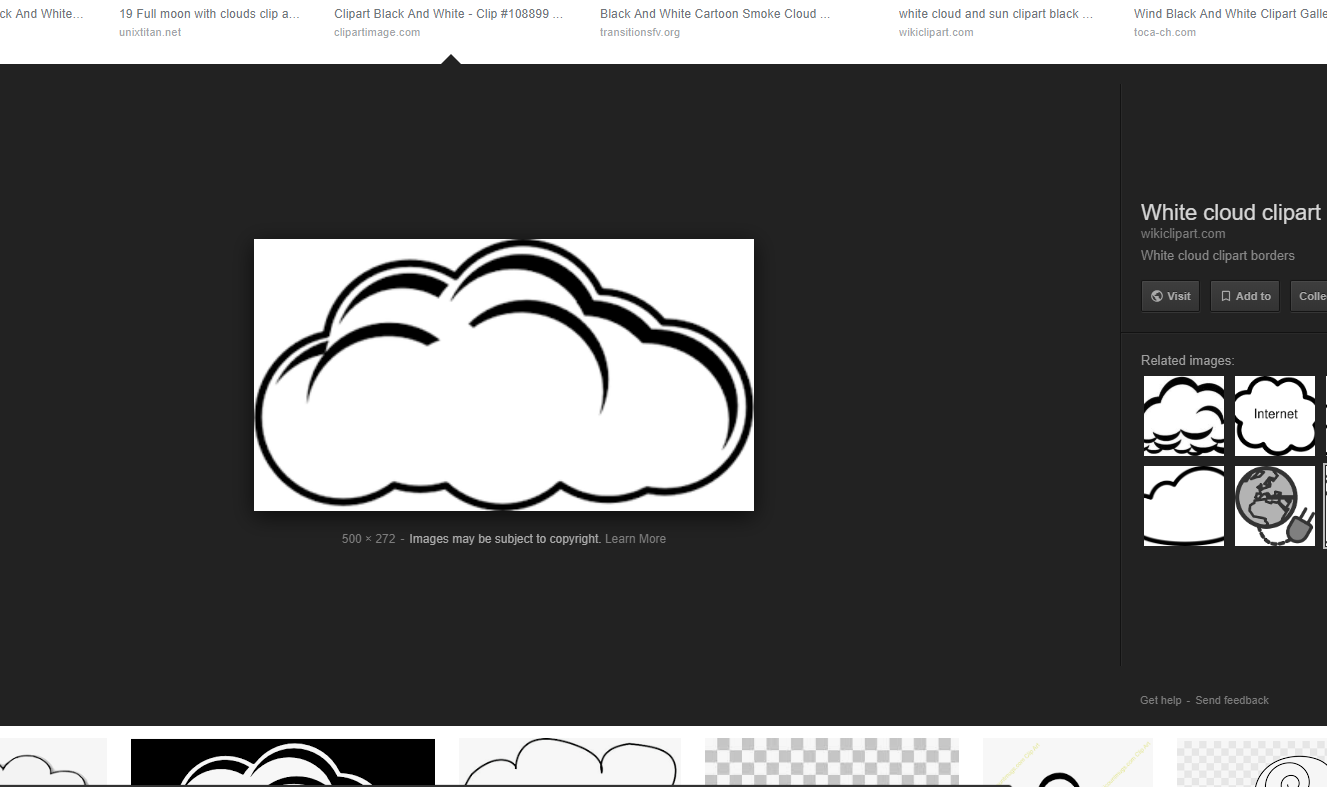
Next we copied the image into the Illustrator file. It's still a raster image at this point, so we have to fix that.
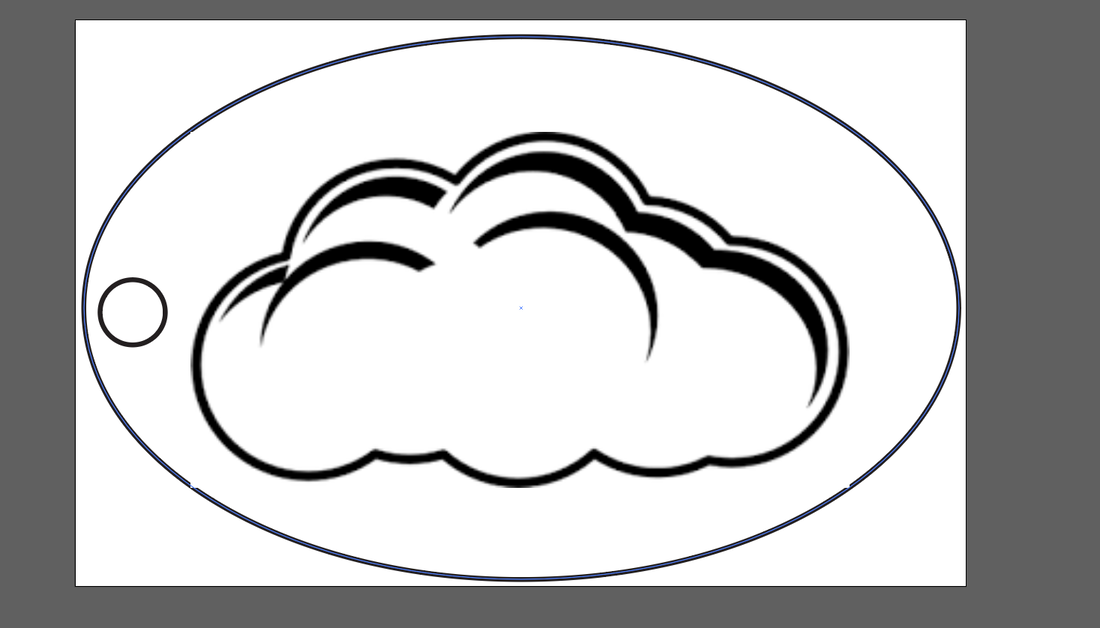
To convert the image to vector format, we clicked "Image Trace." There's a drop-down menu right next to that where you customize how the image looks. I found that the "Sketched Art" preset worked the best for what I was trying to accomplish.

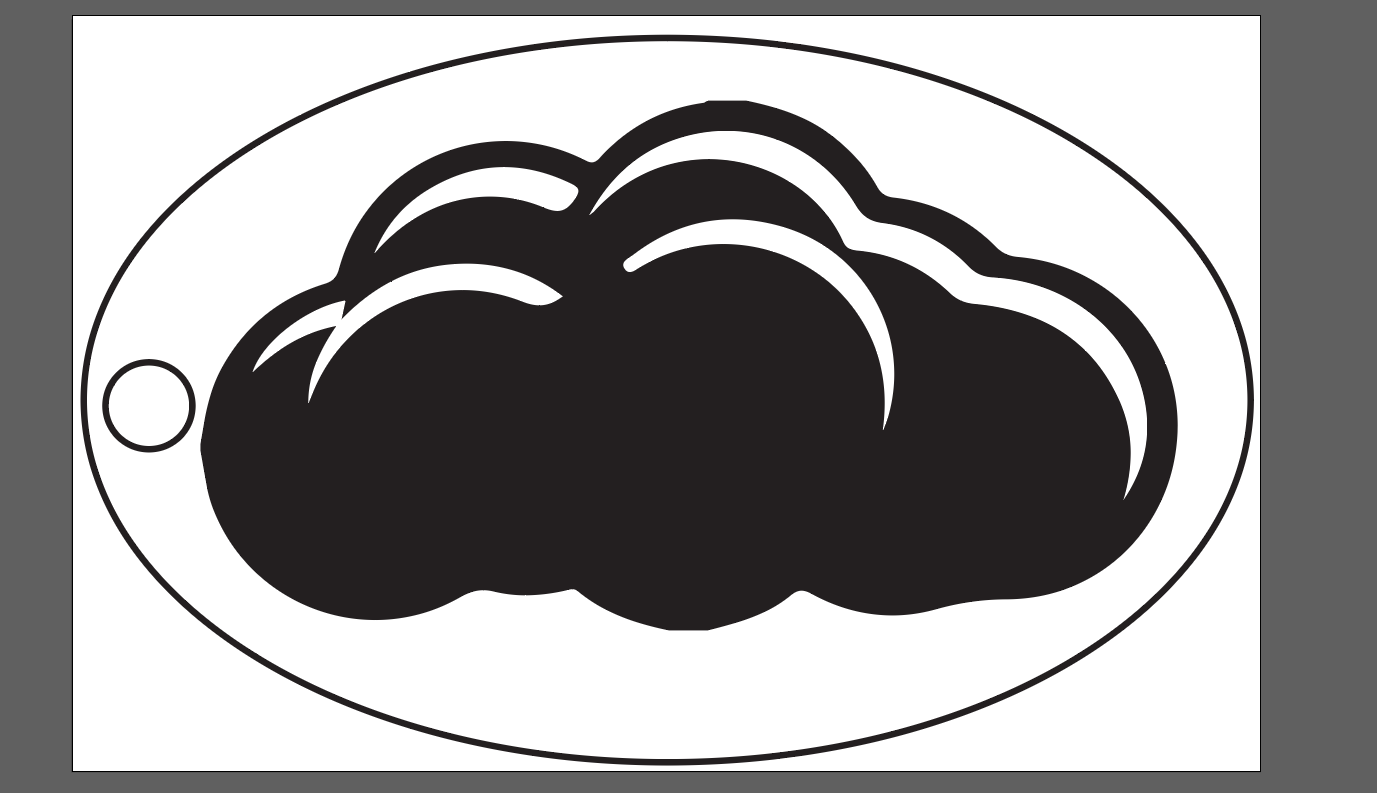
The next challenge was to flip the fill colors so the bulk of the cloud would be engraved. To be honest, I'm not quite sure what I did to achieve this because I kind of just messed around until I got the intended results. I think what I ended up doing was separating the individual outlines for the definition on the cloud and turned those light. It was harder to get the fill black, and I ended up somehow utilizing the "Live Paint Bucket" tool, but I'm uncertain what I did exactly.
Then came the text. To start, I just focused on the font. It's off to the side so I could see it change as I went because the drop-down menu for the fonts was so large that it blocked most of the design.
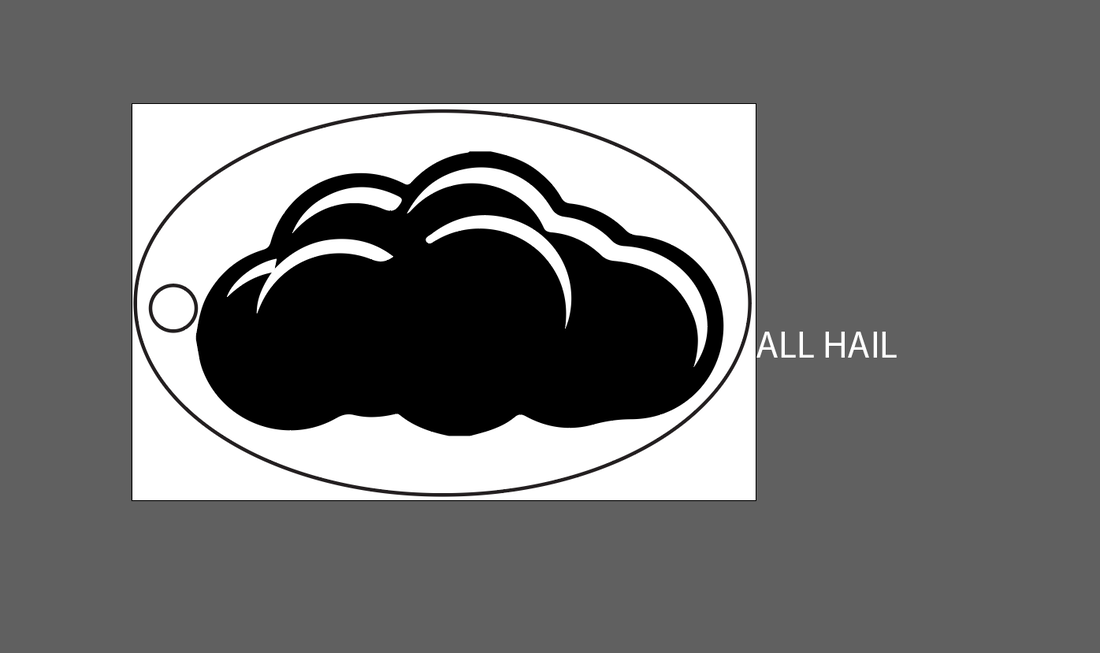
This is font I ended up choosing. I thought it was a good representation of the intensity and mind-controlling powers of the Glow Cloud.
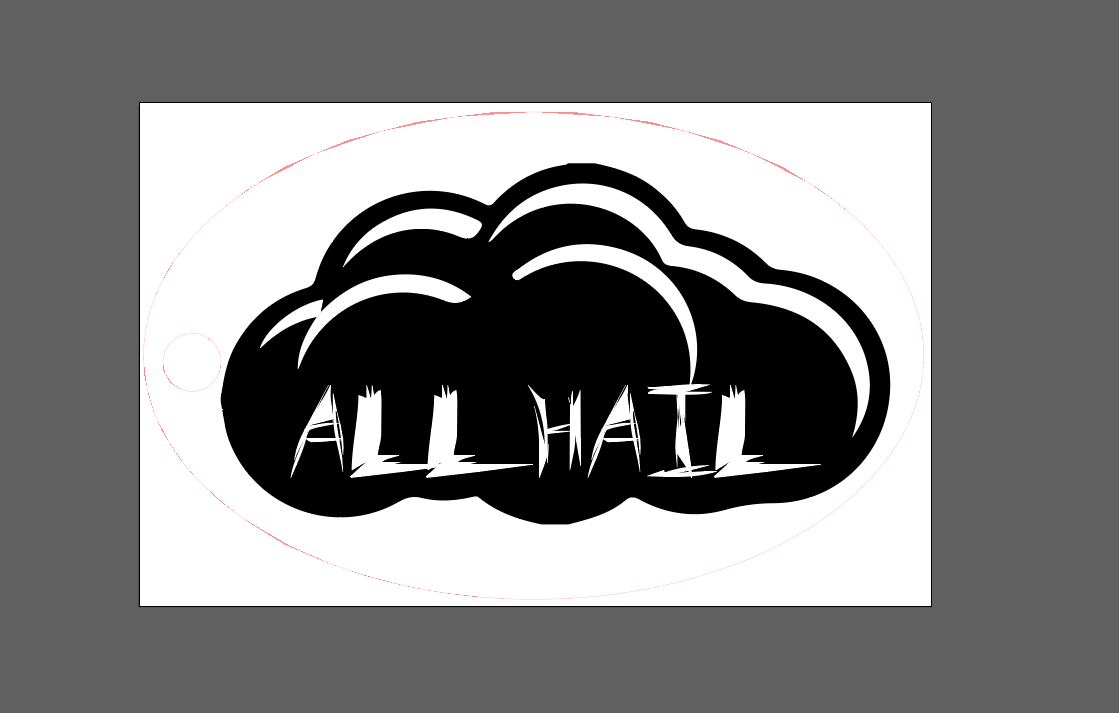
Then we had to translate the outlines into colors and stroke weights that the laser would understand. I didn't have any vector engraving, so there's no blue outlines. Anything to be raster engraved we kept solid black, and what was being cut out was red with 0.0001 stroke weight. This is the final design, ready to be engraved.
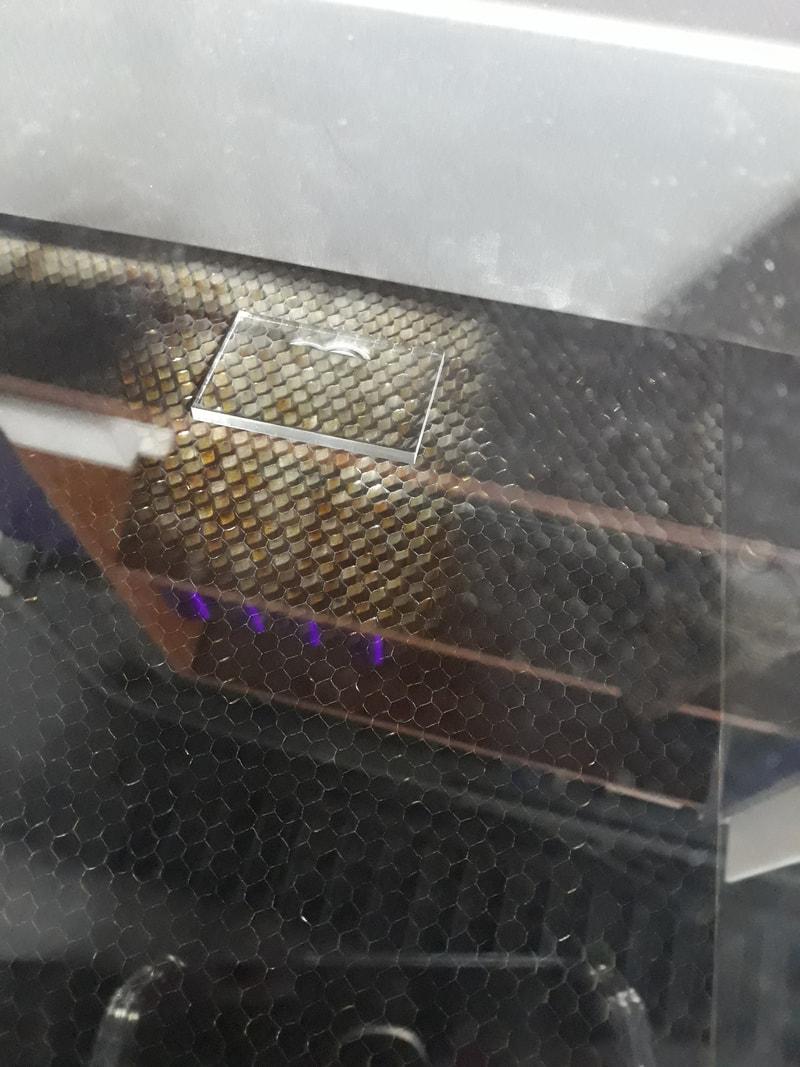
The next step was to bring it down to the laser to engrave it. We had to set it up very carefully so that the laser wouldn't engrave off of the plastic.
It started engraving before it cut out the shape. Here it is just starting.
Now it's almost done. It was going a little slower than normal.
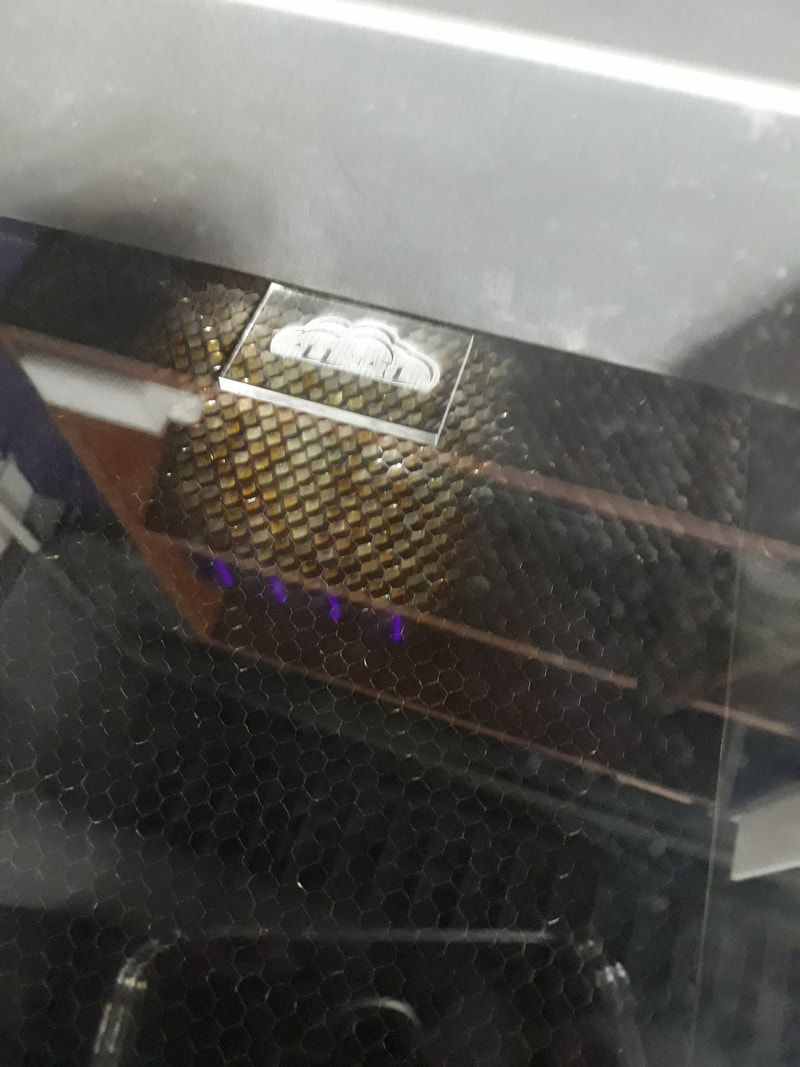
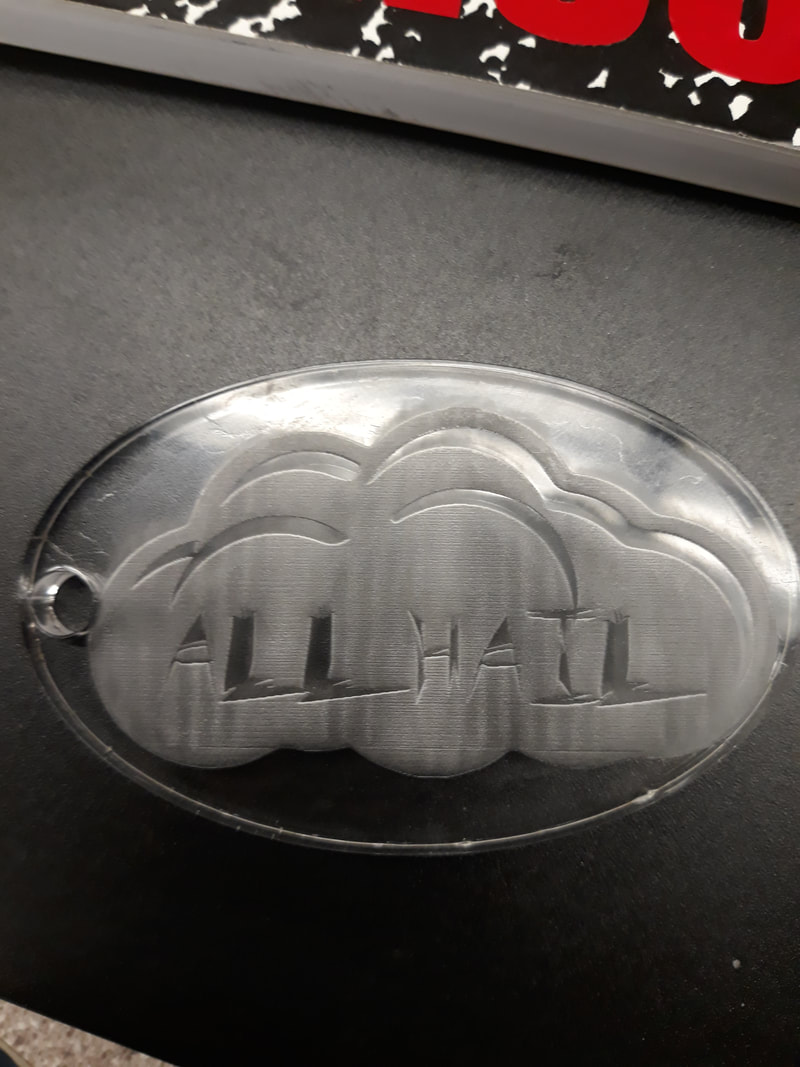
Here's the finished product! It took a while to get to actually engraving it, but I'm quite proud of how it turned out.
Creating a Vinyl Decal
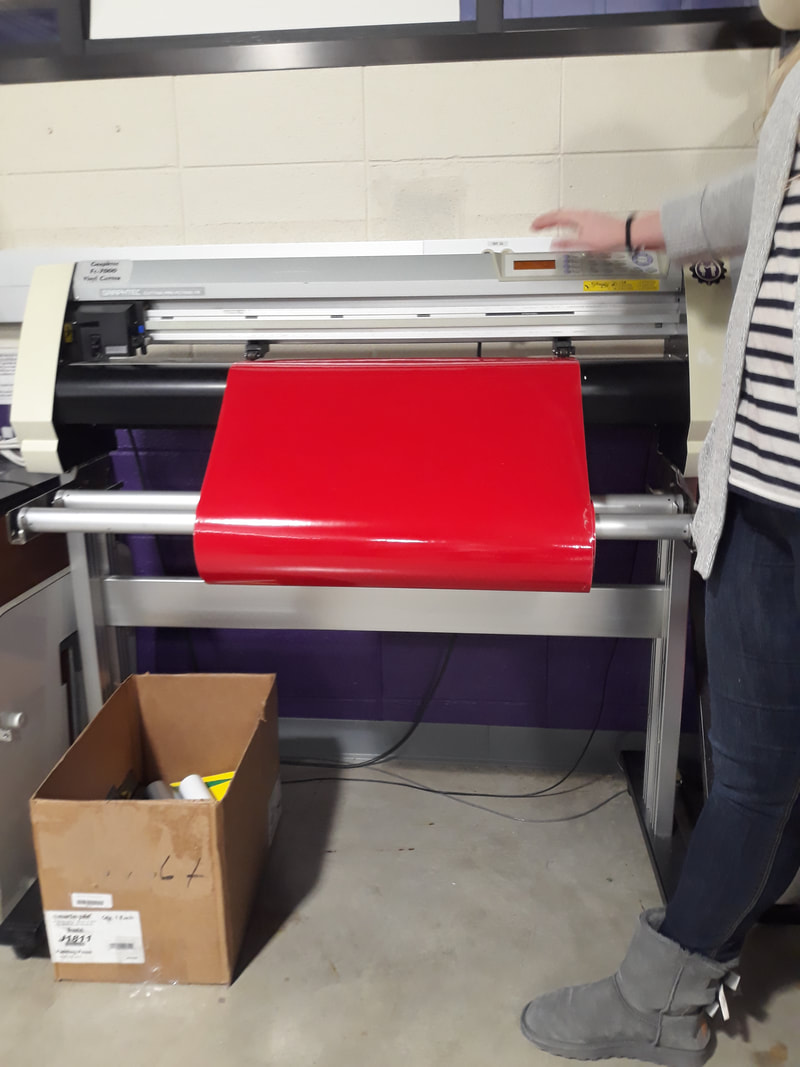
Our next task was to create a vinyl decal with our name to put on our designer notebooks. We didn't do the actual cutting this time because we were doing so many at once, but we will when we create our individual projects. The first step to cutting out this decal was to load the vinyl roll.
After everything was set up, we all entered our names so they were about 6" and created the outlines. If we didn't make the outlines and just kept it as text, the machine wouldn't know where to cut.
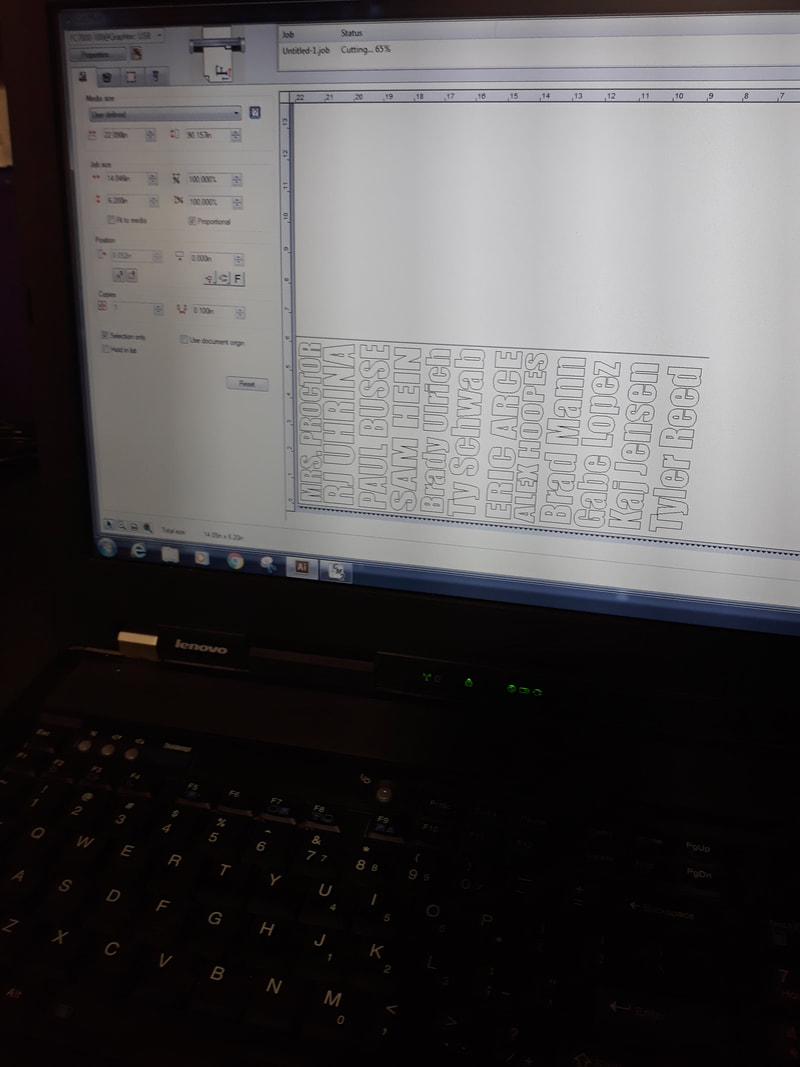
This is the "print" screen. The outlines are oriented so they will leave as little extra vinyl behind as possible.
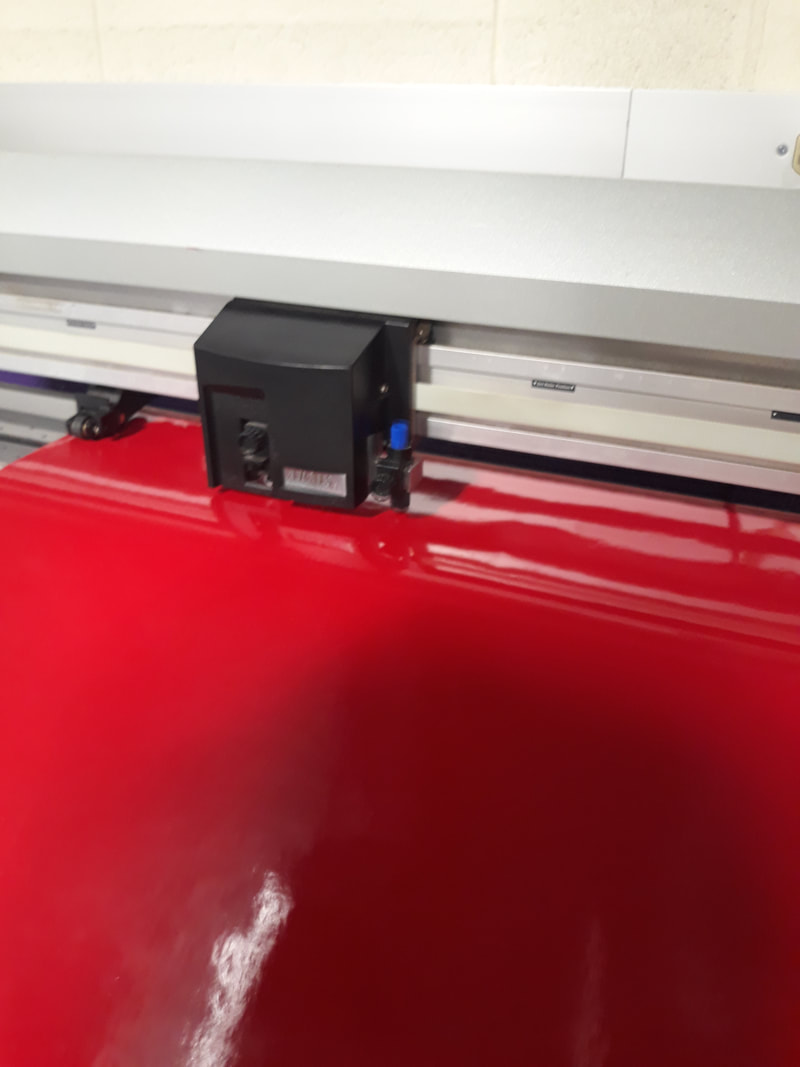
This is the machine actually cutting them out. It's difficult to see, but the names are there.
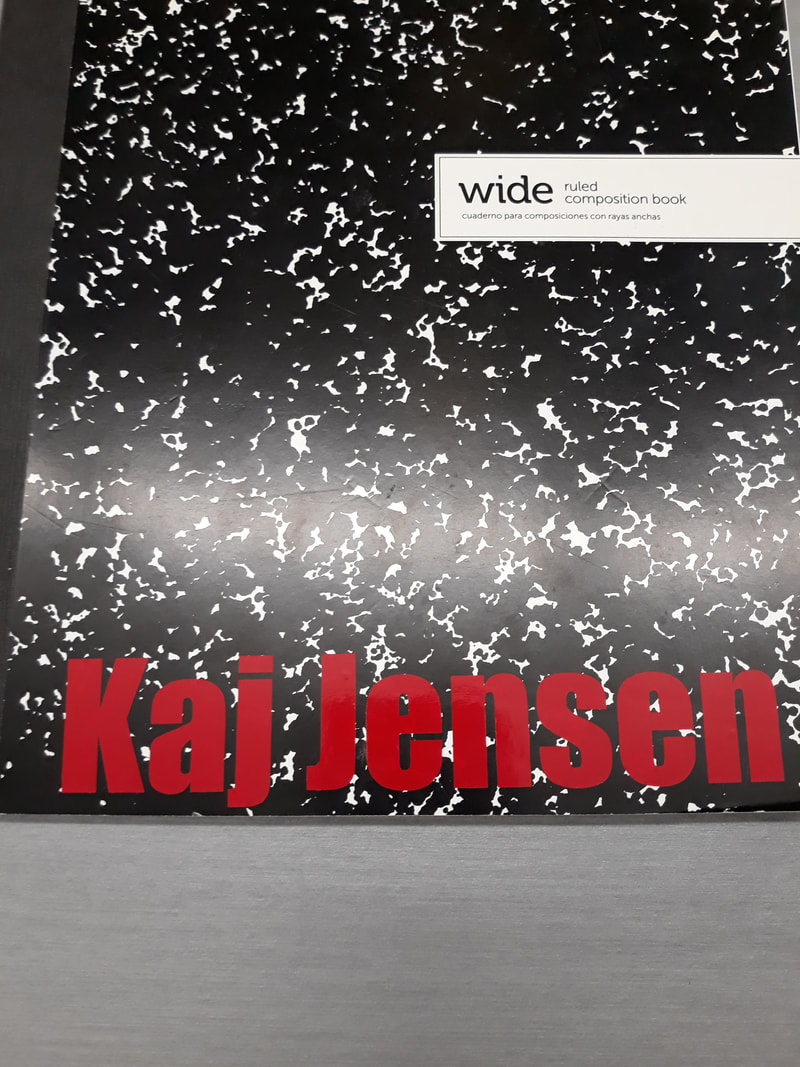
Then it was time to put the decals on our notebooks. We carefully cut out the strip with our name on it, and peeled off the extra vinyl. We then took transfer tape and stuck it over the letters, then transferred them to our notebook. This was the final design.
I learned a lot from this project. I had minor experience with Illustrator before, but all I really did was import and modify an image I had already drawn on another software. While I still imported the image, I did a lot more with it this time. I customised it more, and there was a lot more work that went into it. Also with what I created before, I didn't get to turn it into an awesome keychain. I learned a ton about how Illustrator works (and in my opinion is way better and easier than Photoshop), and I learned how to safely and properly operate the laser, which is pretty epic too.
