Designing and Creating a Model Brake Bracket
What we were supposed to do for this project was create a model car brake bracket out of the same material as the maze. We were given dimensions and some instruction for this, but for the most part we had to figure it out on our own. This one proved to be, at least for me, a lot easier than the maze.
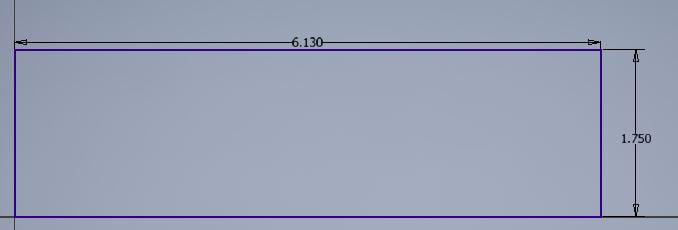
The first step is to create a new 2D sketch. I started my sketch using the full dimensions of the bracket.
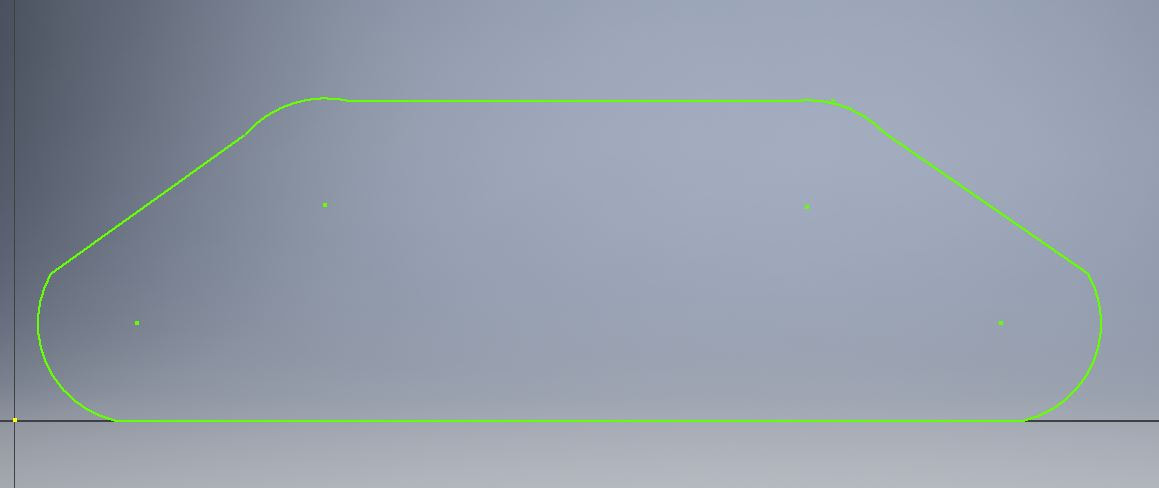
Next I used arcs and lines to create the general outline of the shape.
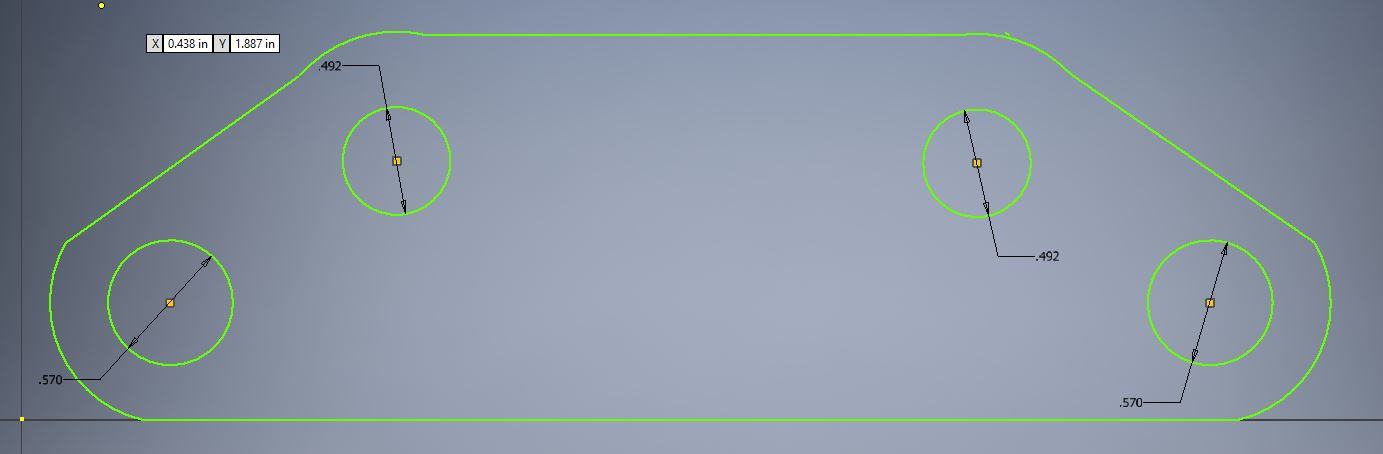
Next I created the holes using the circle tool.
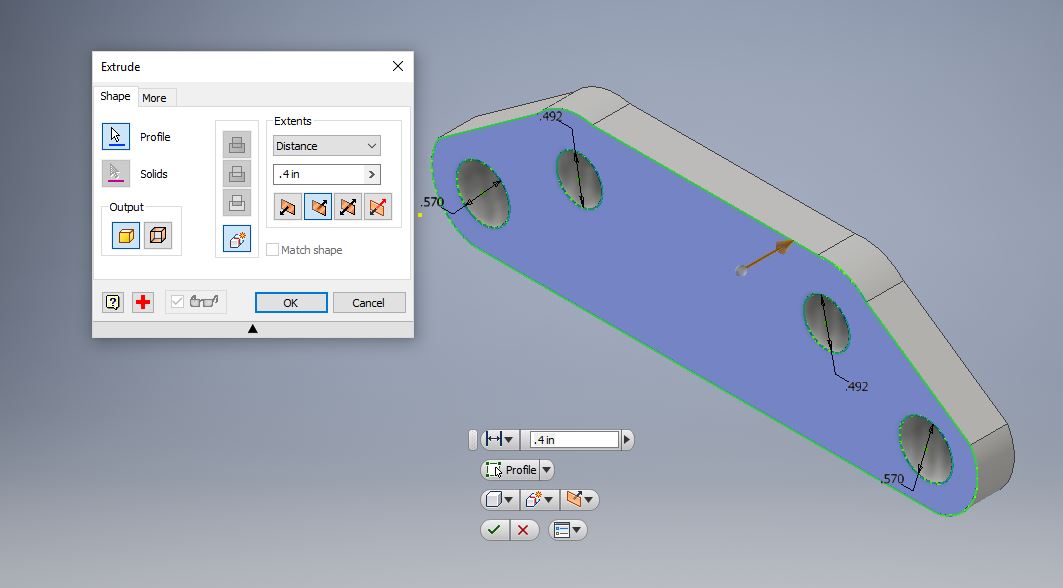
I extruded the first base.
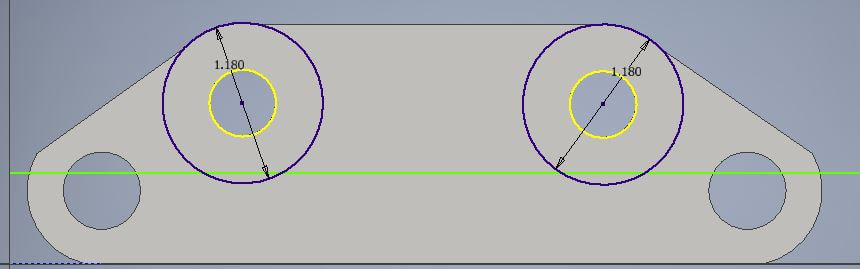
Next I had to create the upper bumpouts. I started another sketch and used the circle tool again.

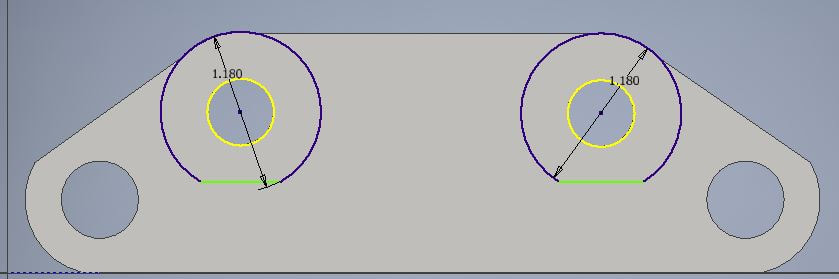
The bottoms of the protrusions are squared off, so I drew and snipped a line for the bottom edges.
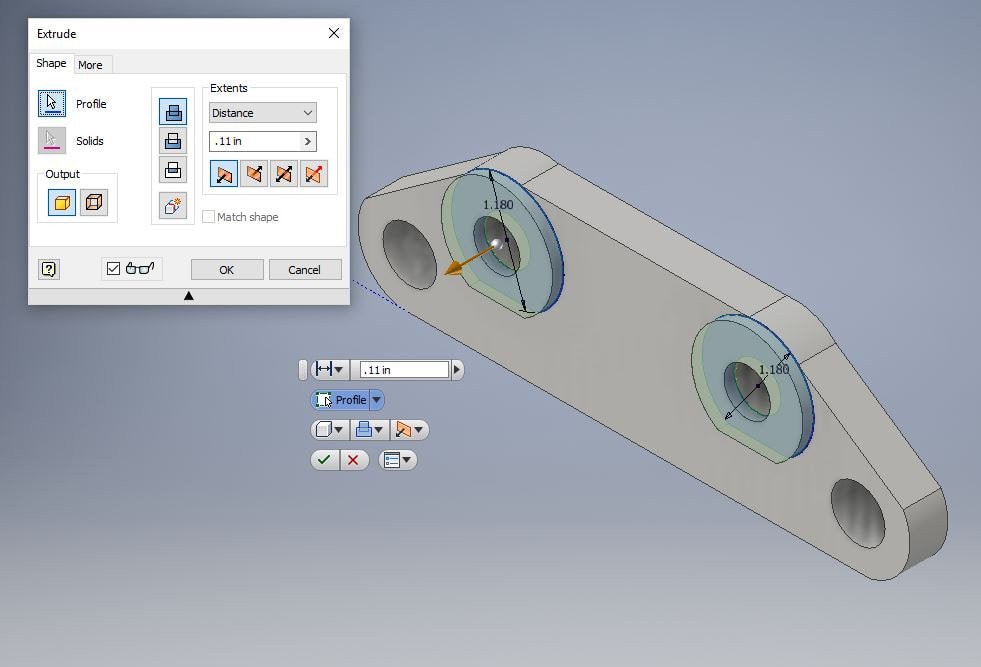
Then I extruded them.
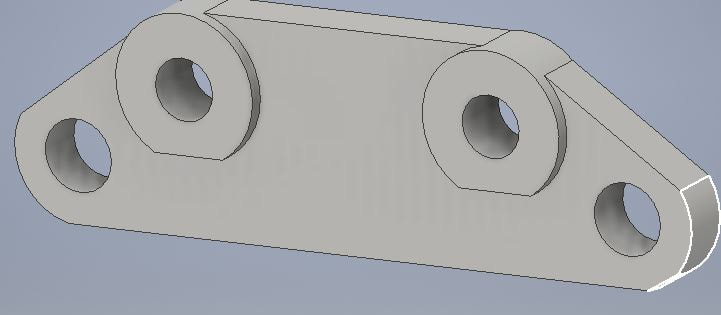
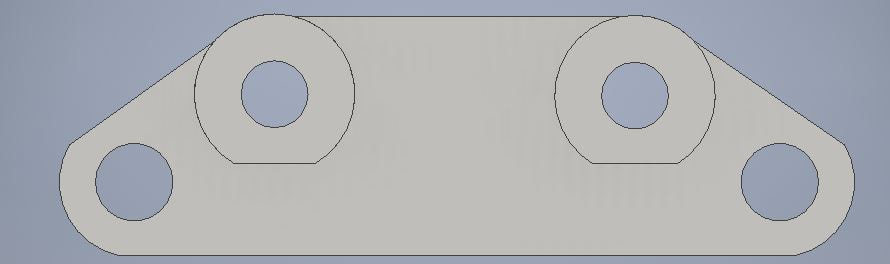
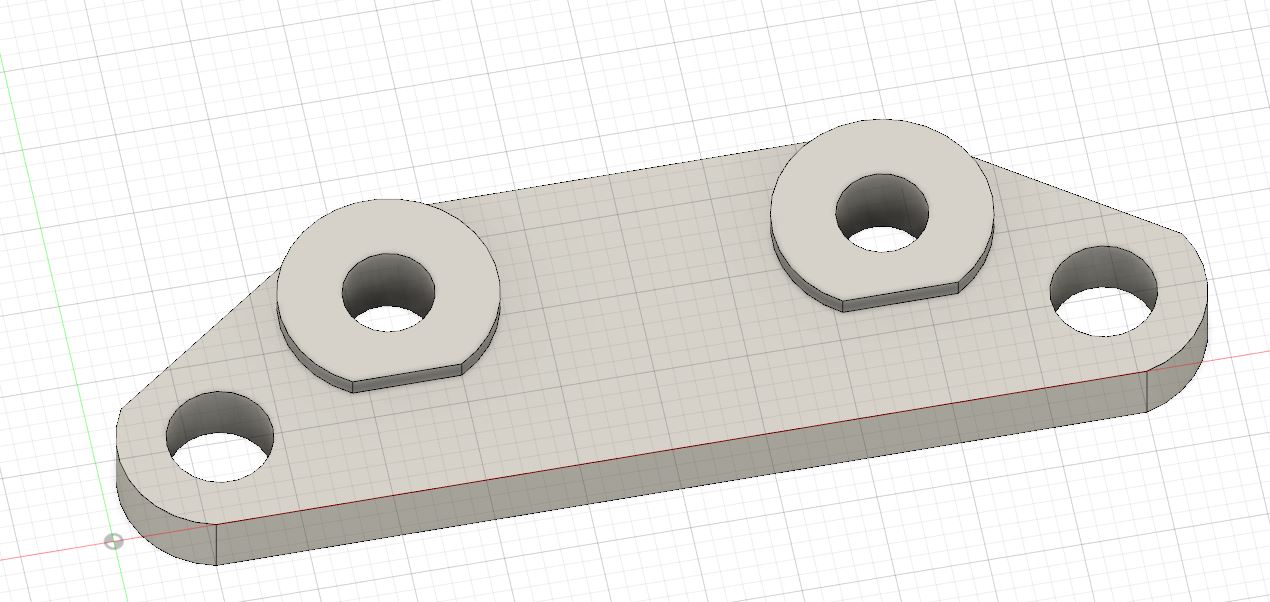
This is the final Inventor design.
|

|
|
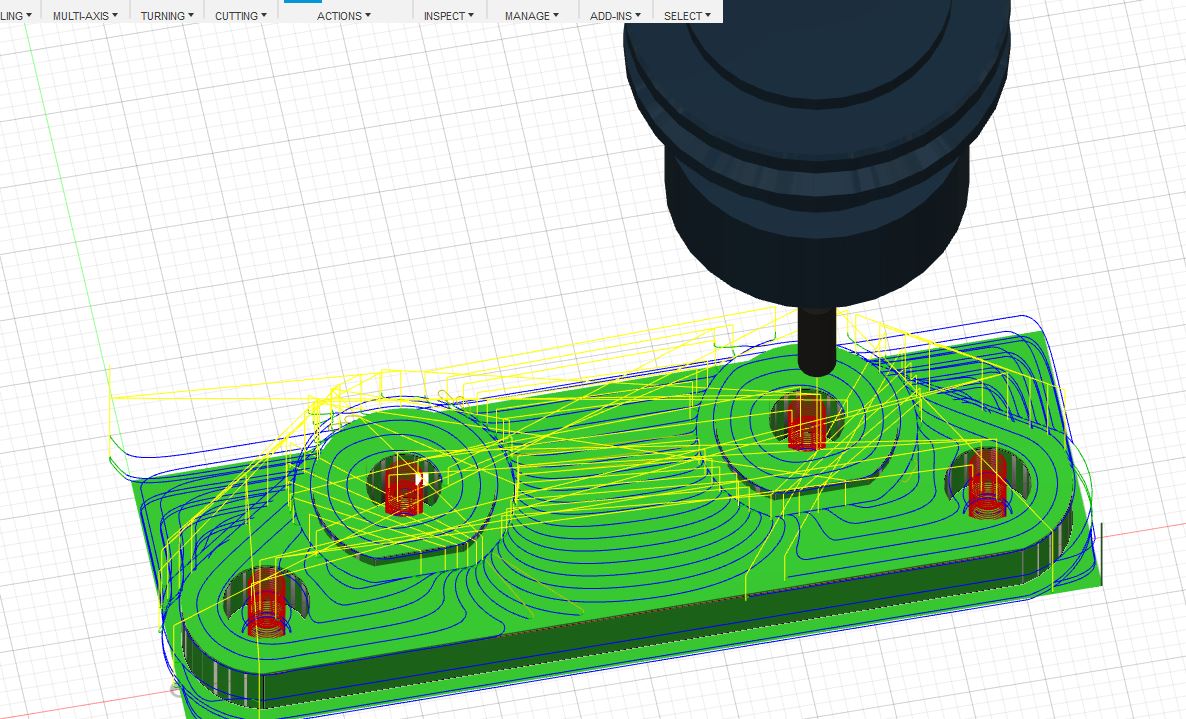
Much like the maze, I had to upload this to work on it in Fusion 360.
I did what I did with the maze, only in a 3D format instead of 2D. It went a lot faster.

|
|
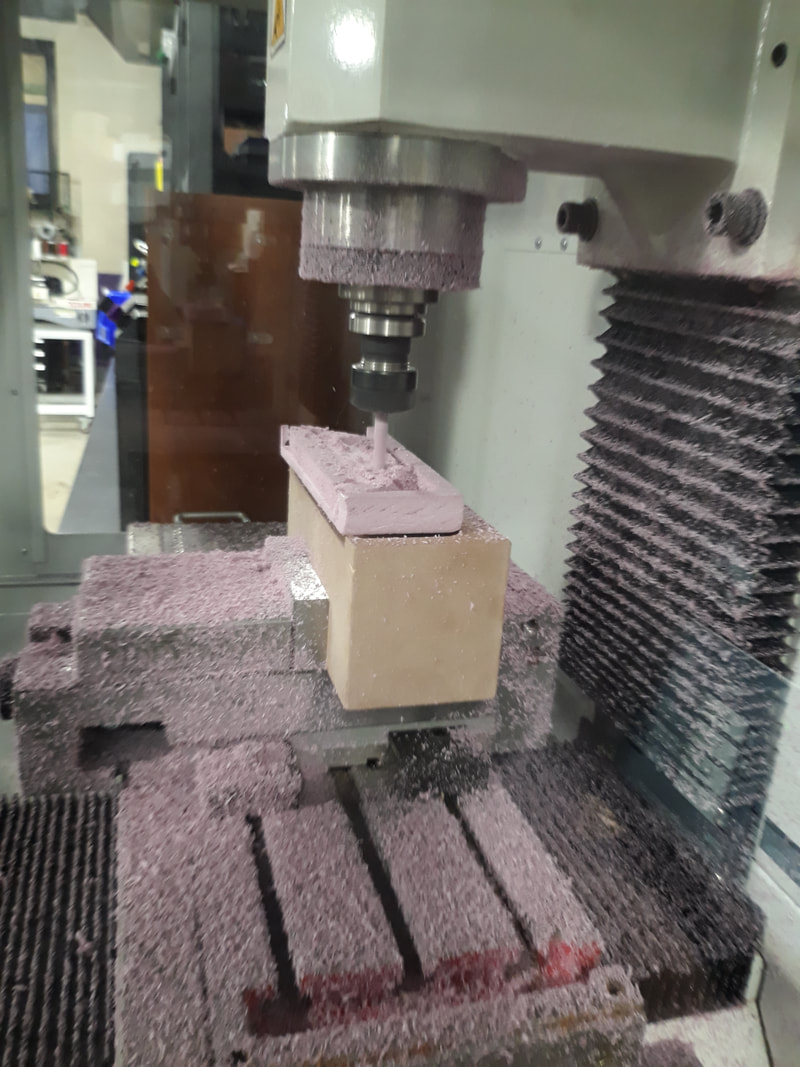
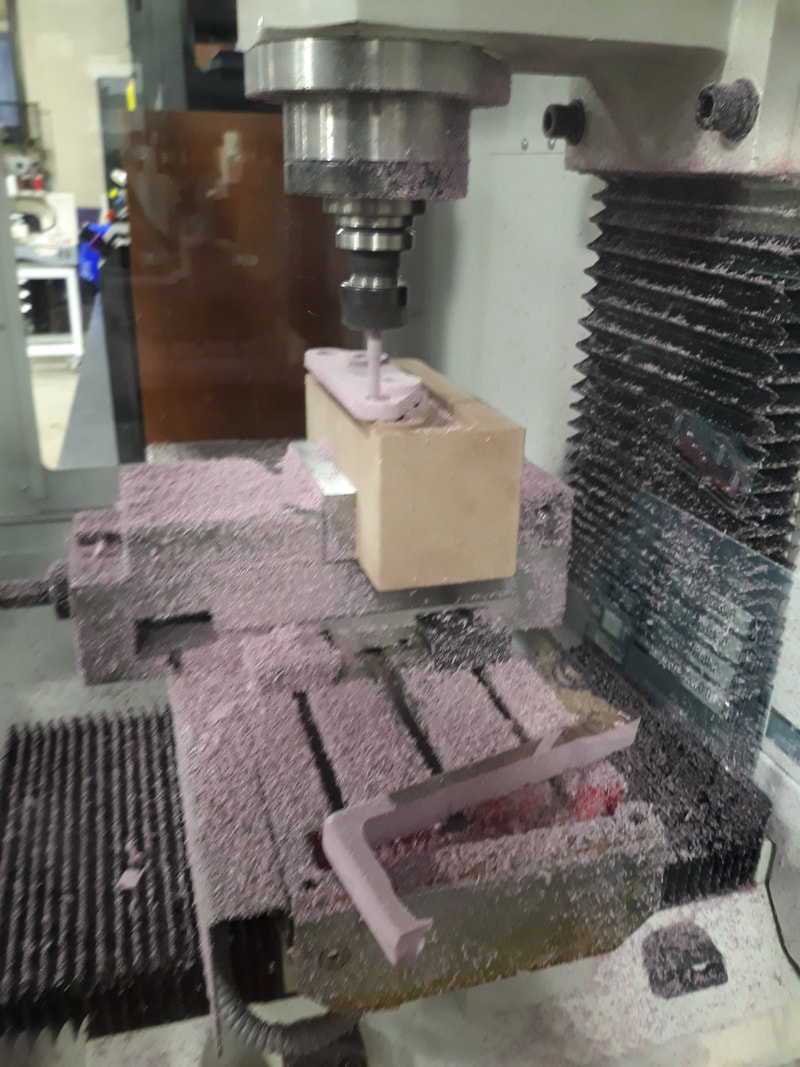
Then I took my flash drive down to the CNC Mill and started cutting it out. There were a few rough patches where the mill shaved a little off the top, but that sorted itself out. I also had to stop it before it made the third pass, as it would've started cutting out the wood frame around it.
|
|
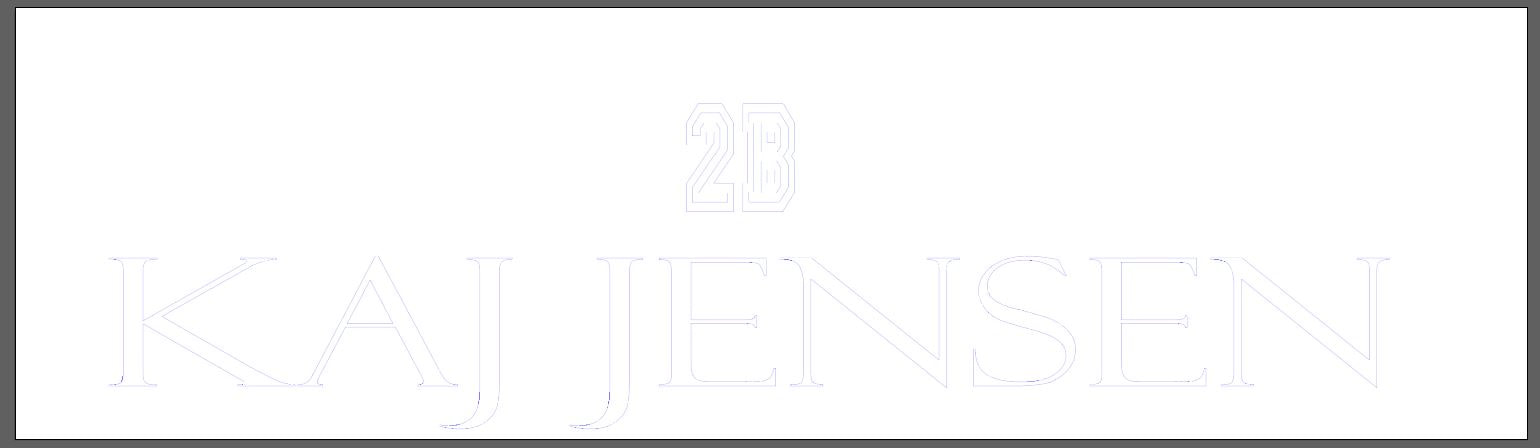
Next we had to laser engrave our name and hour on the foam, so I created an Illustrator file.

It's hard to see, but I changed it so that it would vector engrave the the outlines.
I took the brake bracket down to the laser.
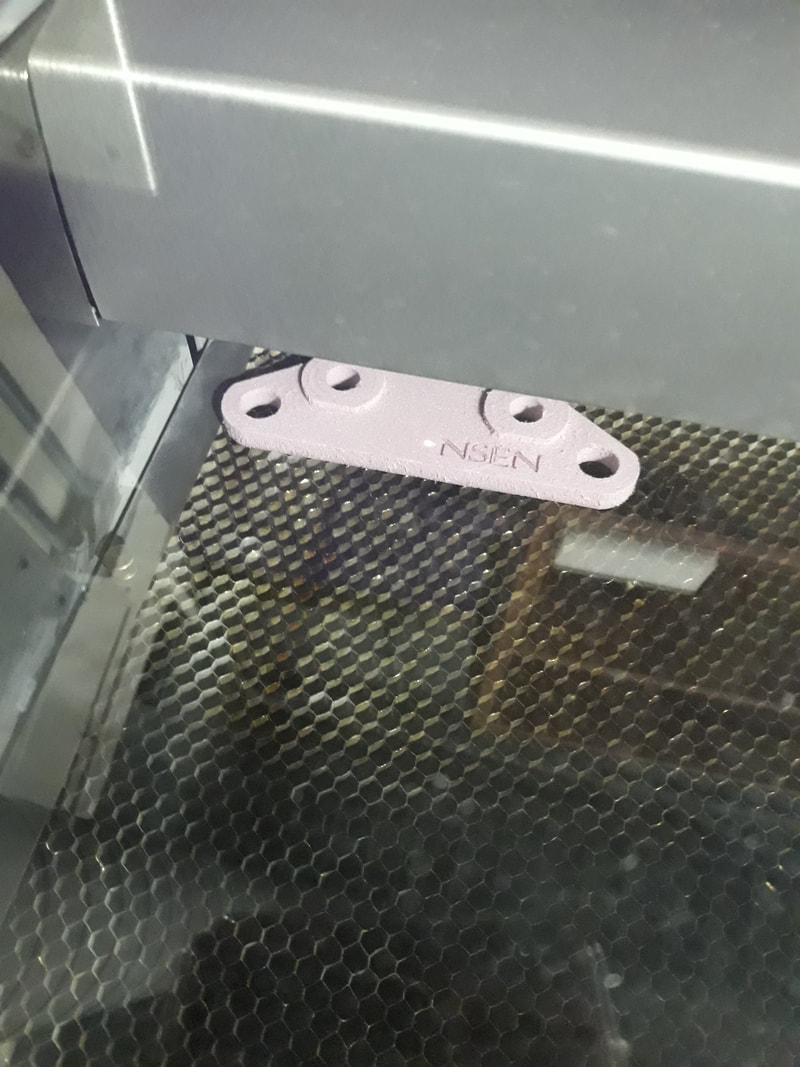
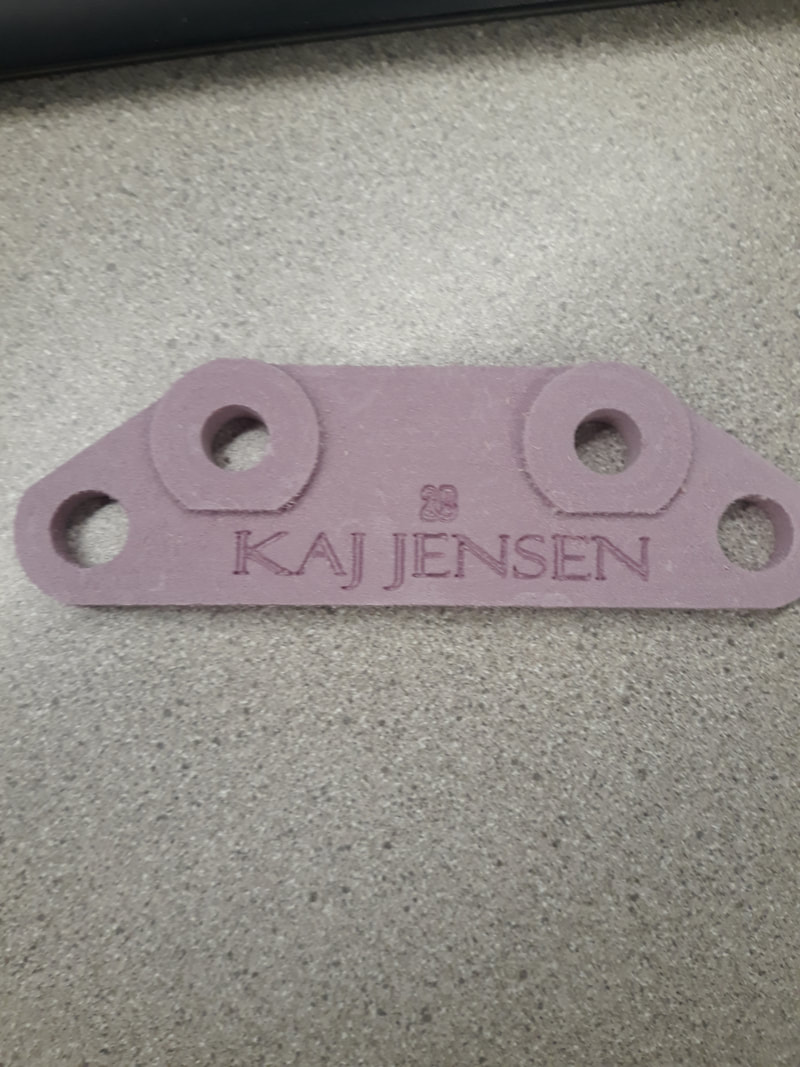
This is the final product. The "2B" is a little off center, but I still think it looks good. Not good enough to be in an actual car, but still cool.
What I learned from this project is that sometimes problems will just sort themselves out on their own, like the mill accidentally cutting too deep into the foam at first. If you just give it time, it will fix itself and not cause any more damage. This was a really fun project, and I think it would be cool to make a real brake bracket out of metal.
