Designing and Creating Notebook Covers
One of the tasks for the individual laser projects is to design and engraving a piece of mat board to be the front and back covers of a small notebook. The only requirements were size (4.25" by 5.5") and that we had to have both a cut and engraved process. Beyond that, we could do anything we wanted.
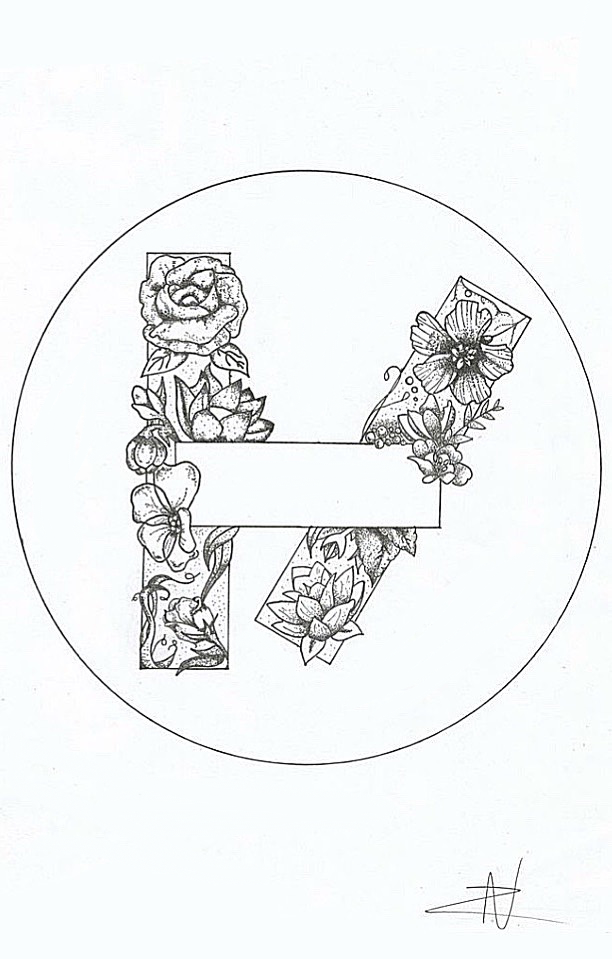
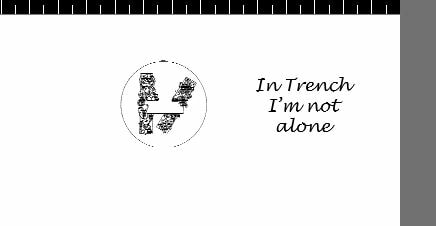
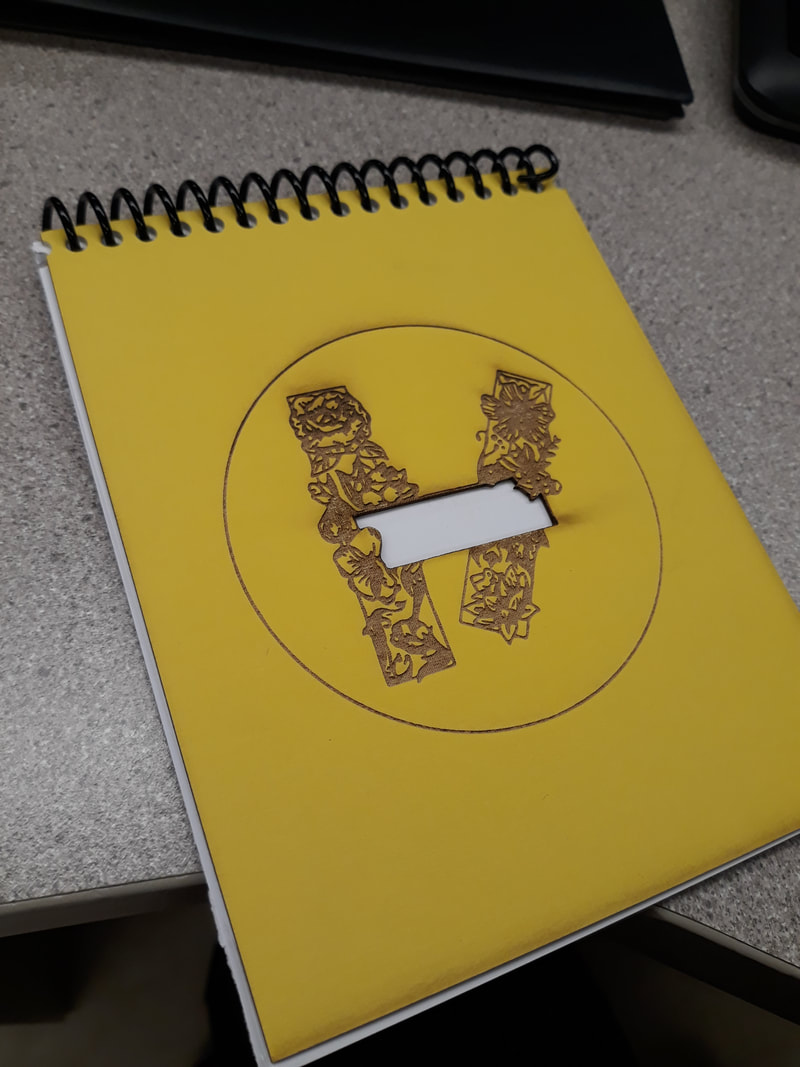
The most important thing was to decide on what design we wanted. I decided to make a Twenty One Pilots based notebook, with a variation of the logo on the front and a lyric on the back. The mat board color that I chose was a yellow which would engrave a sort of white/tan color. This was the front cover design that I chose.
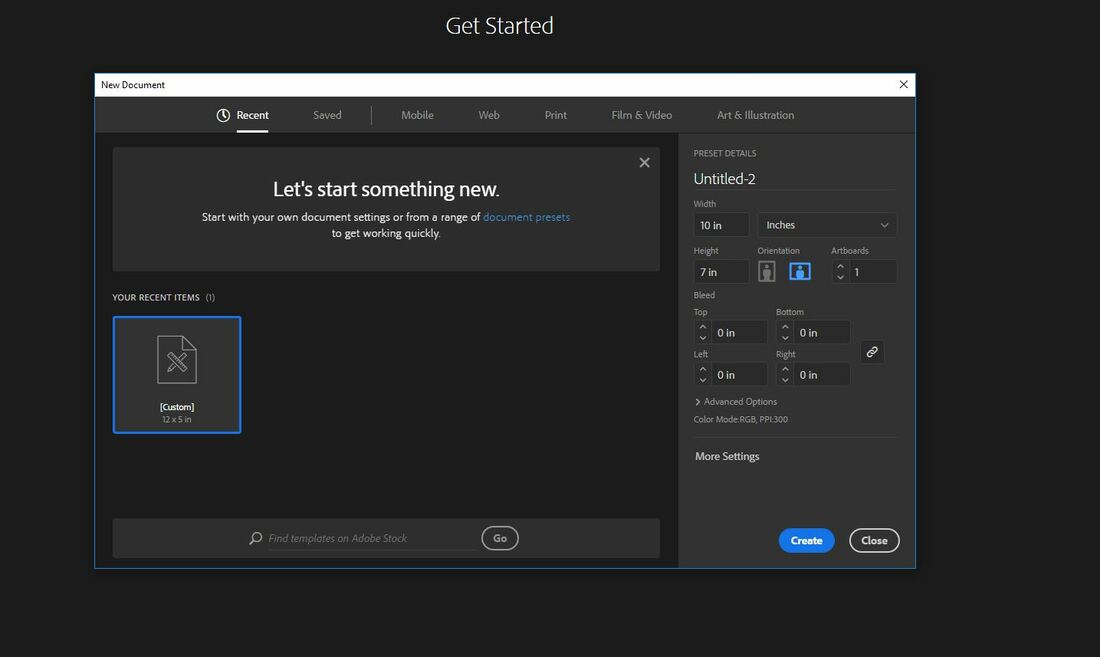
Then we set up the page in Illustrator. I made mine 10" by 7" so I would have enough room to set the covers side by side. We also had to make sure it was RGB so the laser knew what to cut.
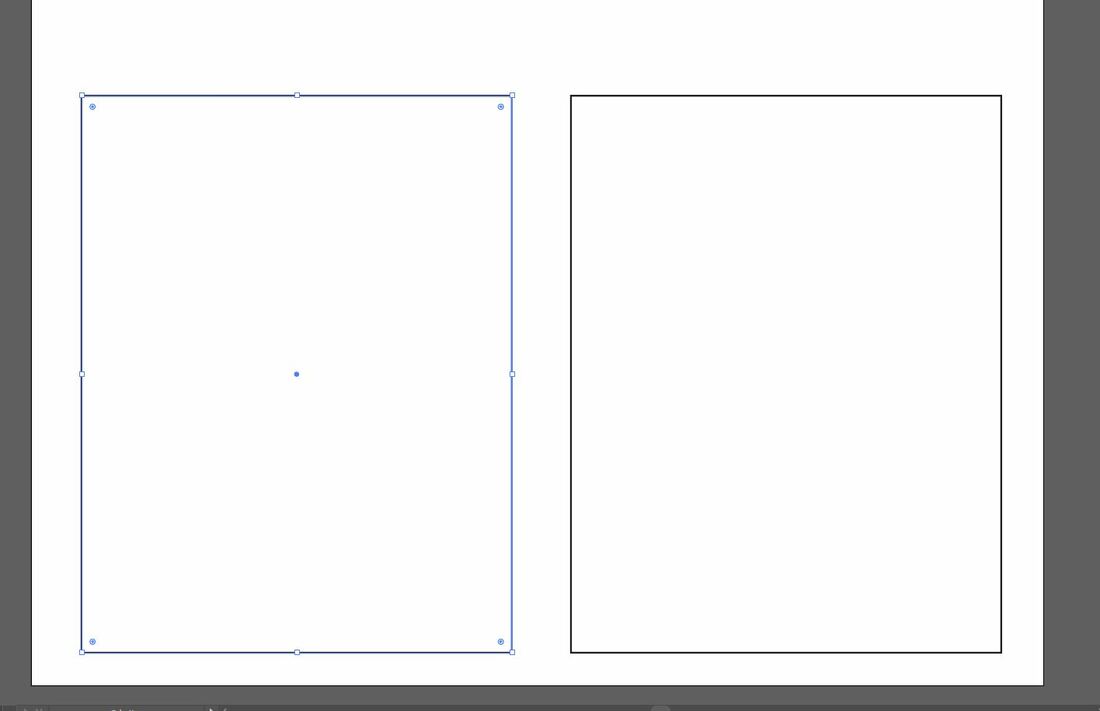
I drew the boxes for the covers, again making sure they were 4.25" by 5.5."
I downloaded the image I wanted and imported it into my Illustrator file.
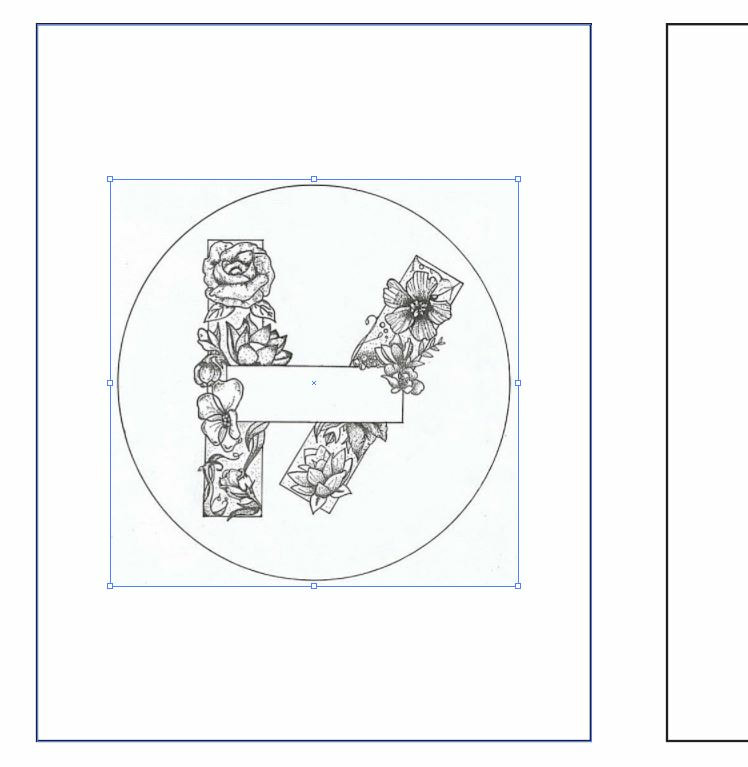
Next I had to translate the raster image into a vector image. I did this by clicking "Image Trace" at the top. I found that the "Sketched Image" preset gave me the best look I was going for.
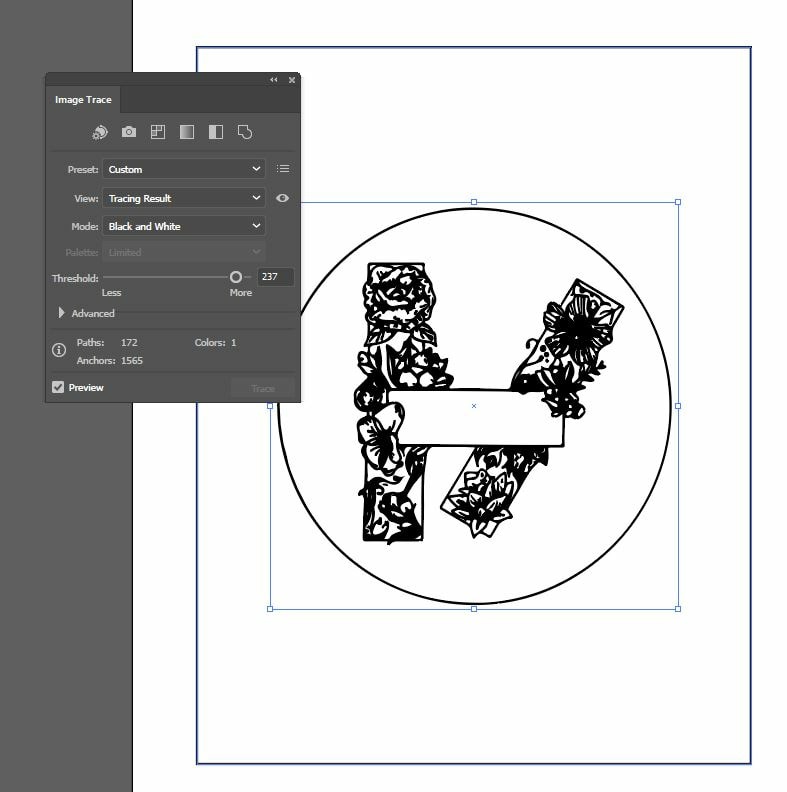
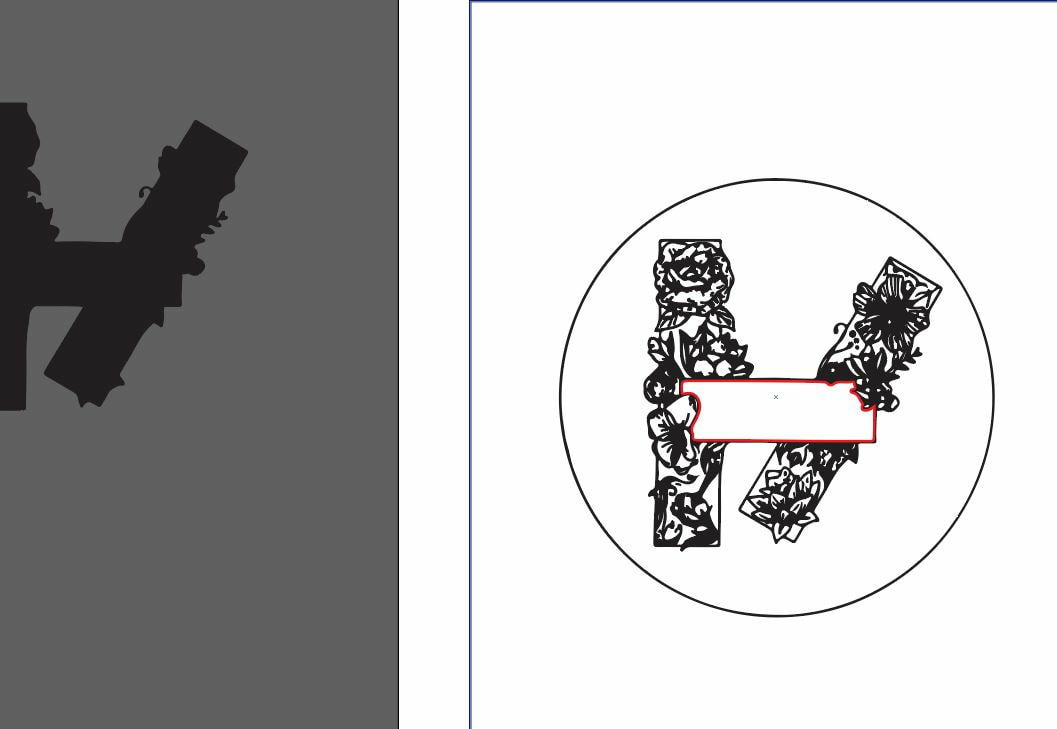
This next part was tricky. I wanted to cut out the middle bar, but it was attached to everything else. Much like when I created my Glow Cloud keychain, I'm not quite sure exactly how I did this. I believe I ended up making a silhouette copy of the design (shown at left) and transfered the middle bar from that over onto my actual design, making the outline red and at 0.0001 point to cut it out. Then I deleted the silhouette copy, as I didn't need it anymore.
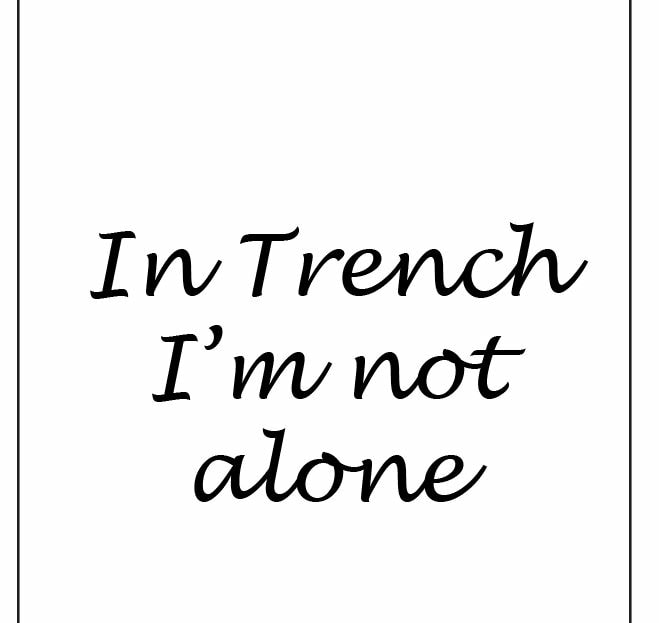
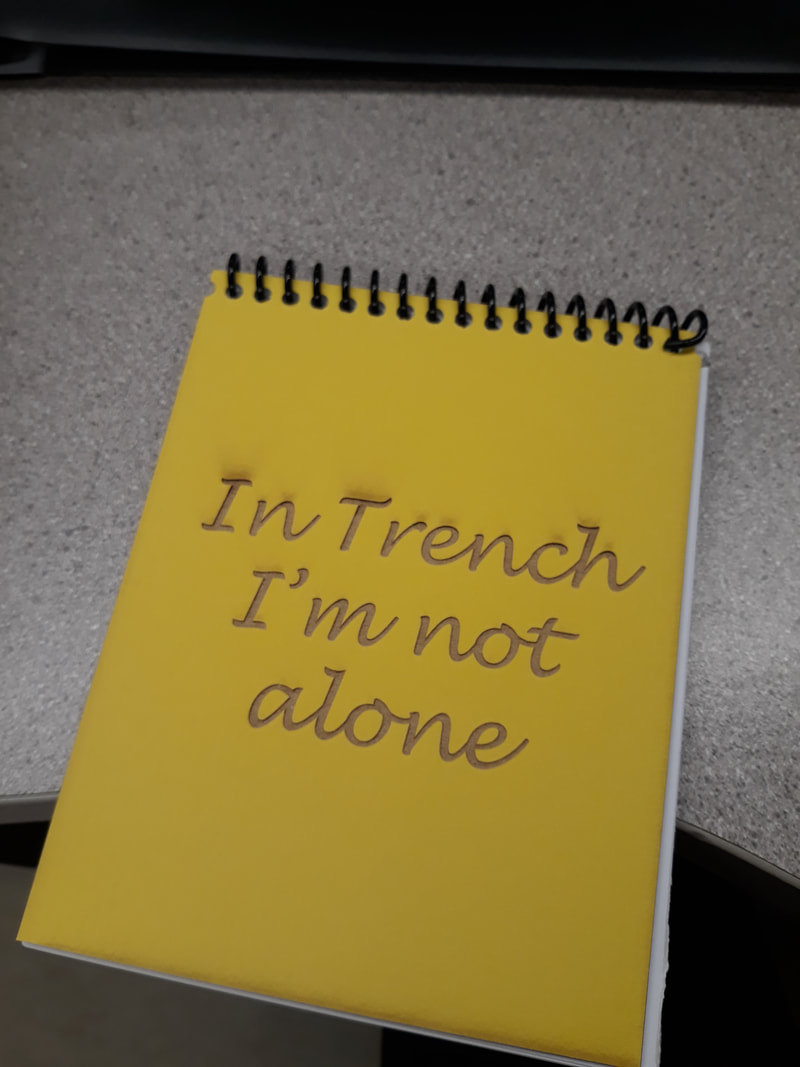
My next step was to get my lyric on the back and choose a snazzy font to pair it with. I knew I wanted to go with this one because it's a lyric that I feel shows the sense of security that the band gives its followers. Trench is in a sense sort of a name for the band's following, and basically what the music represents. Twenty One Pilots really hit home the message that everyone is cared for, that no one is alone, and that you have a safe space in the music. I felt that this lyric really encompassed that.
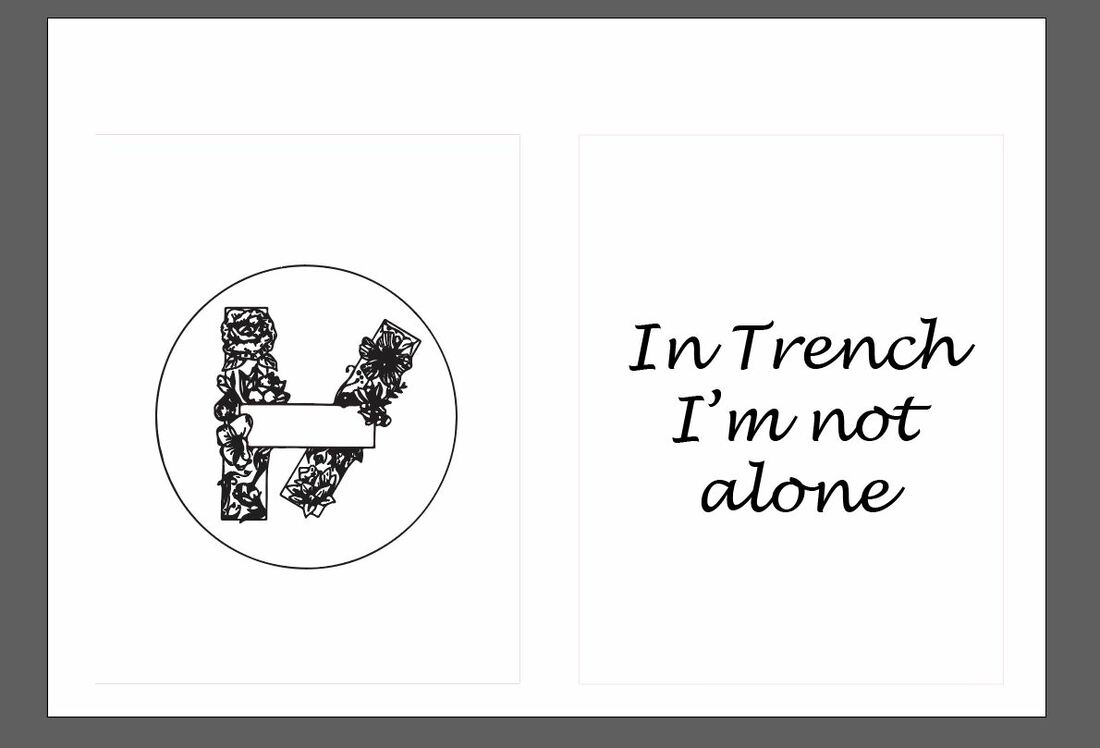
Next I had to change the cover outlines to 0.0001 red so the laser would know to engrave them. Everything to be engraved is kept black. This is the finished design.
Next we had to upload it to the laser by clicking "Print" in Illustrator. Then we carefully followed a series of steps to set it up in the laser software so that it would engrave properly, rather than break the laser or start on fire.
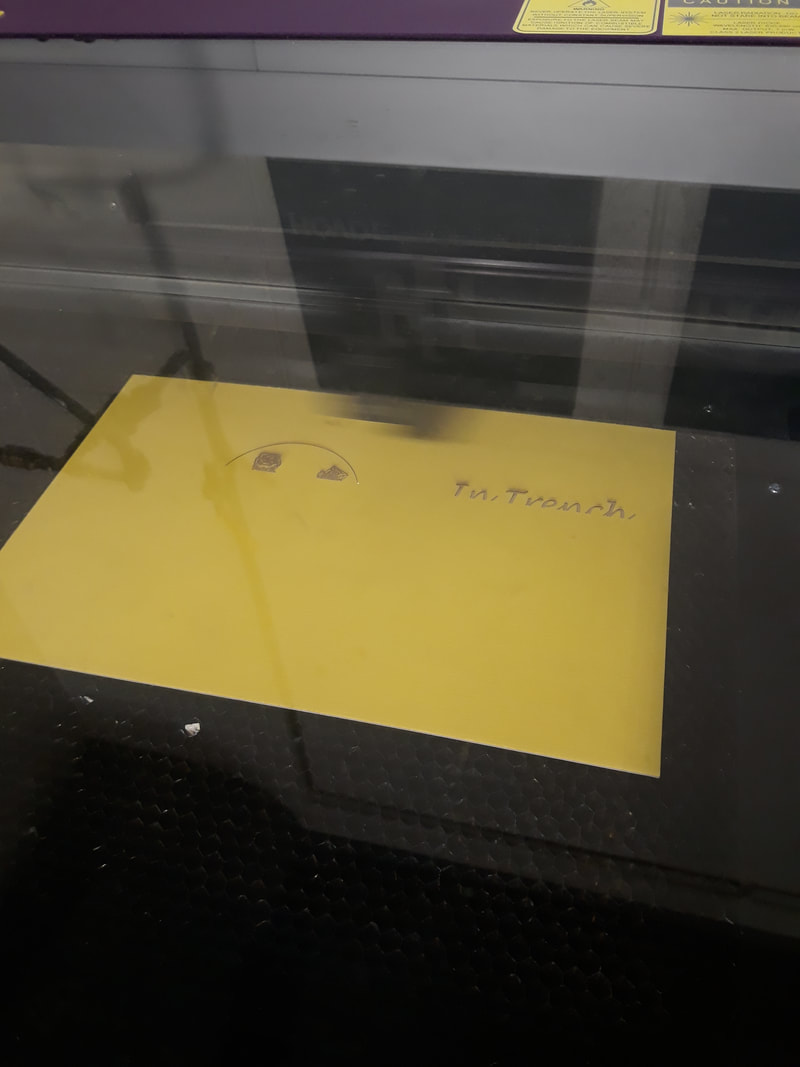
Mine is starting to print. At this point I don't know if the middle bar of the logo will be cut out or just engraved, so that remains to be seen.
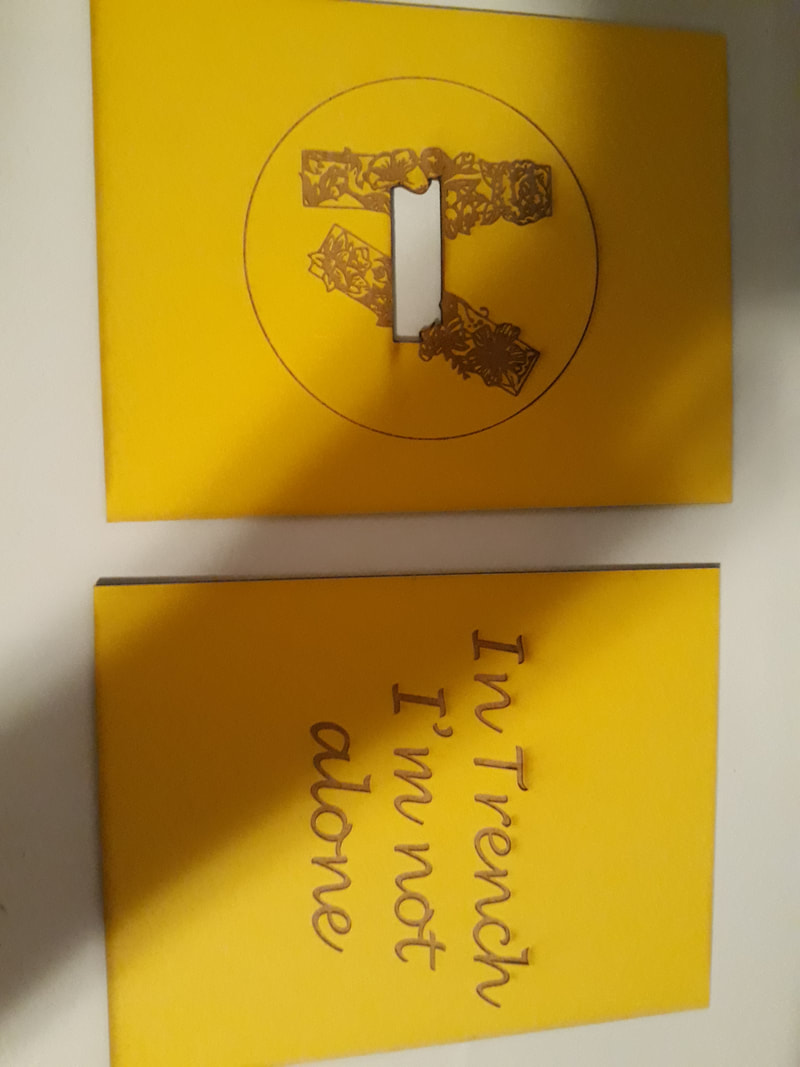
Here's the covers all cut out! I'm quite relieved that the middle bar cut out, because otherwise that would be a whole other set of problems that I don't want to deal with. It engraved tan rather than white, but I think that's just from the laser scorching the mat board.
Next we had to get the pages to the right size. Each piece of paper can make 4, and we needed 20, so we grabbed 5 sheets. We then took the newly cut pages and the covers over to the notebook hole punch.
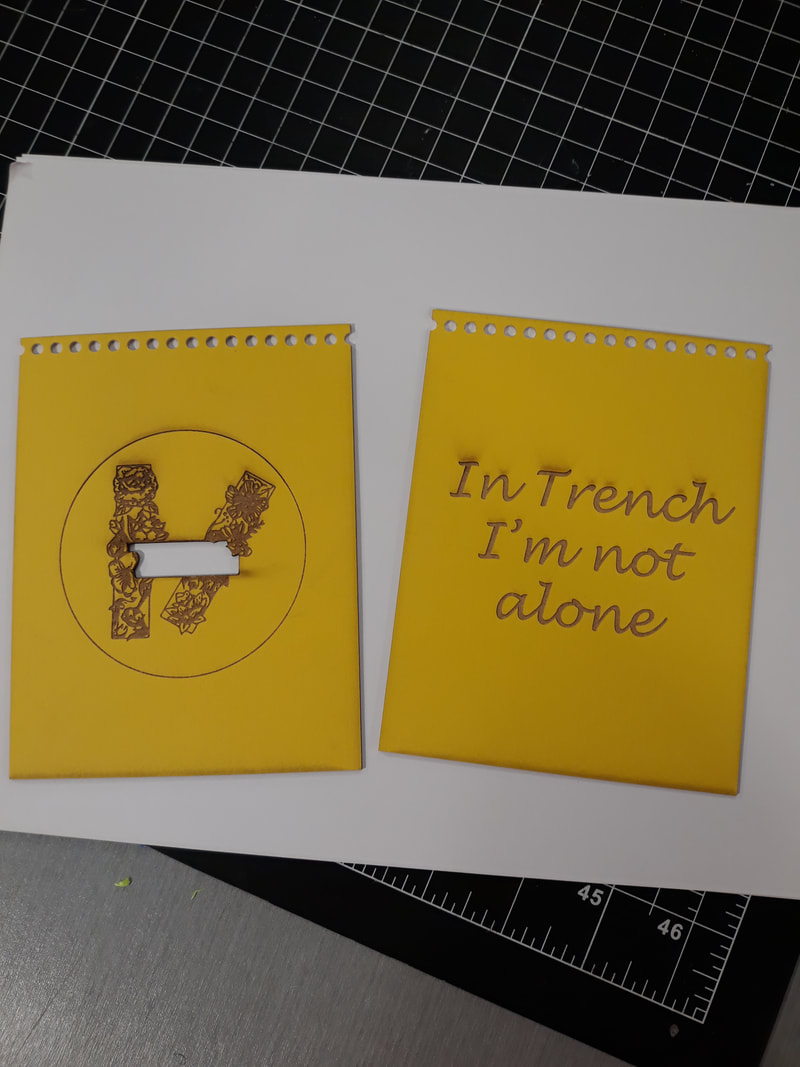
We then threaded a spiral page binder through to hold it together, bending the ends of the spiral so it won't slip off. And thus, the notebook is finished!
|
|
I learned many things from this project, but most of all I learned patience. This one was a little difficult because I had to do three laser projects in three days, whereas other rotations were one project in three days. There were certainly a lot of things that didn't go well, and there were a lot of dead ends and roadblocks, but I got through it. I also ended up helping people figure out what they were supposed to be doing too, so that made me feel immensely better.
