Designing and Creating a Clock
The final project was to design a clock. The only restraints were that it has to fit the rotor for the hands into the design, and we had to use at least three machines in the project. I chose to make a dream catcher clock using the laser, vinyl cutter, and 3D printer.
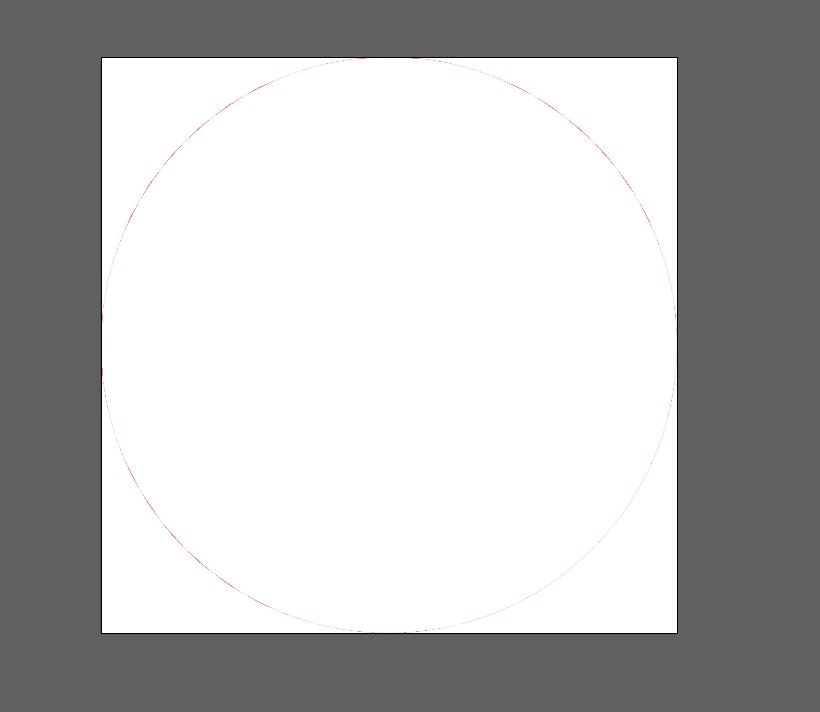
The first step I took was finding the base image for the design.
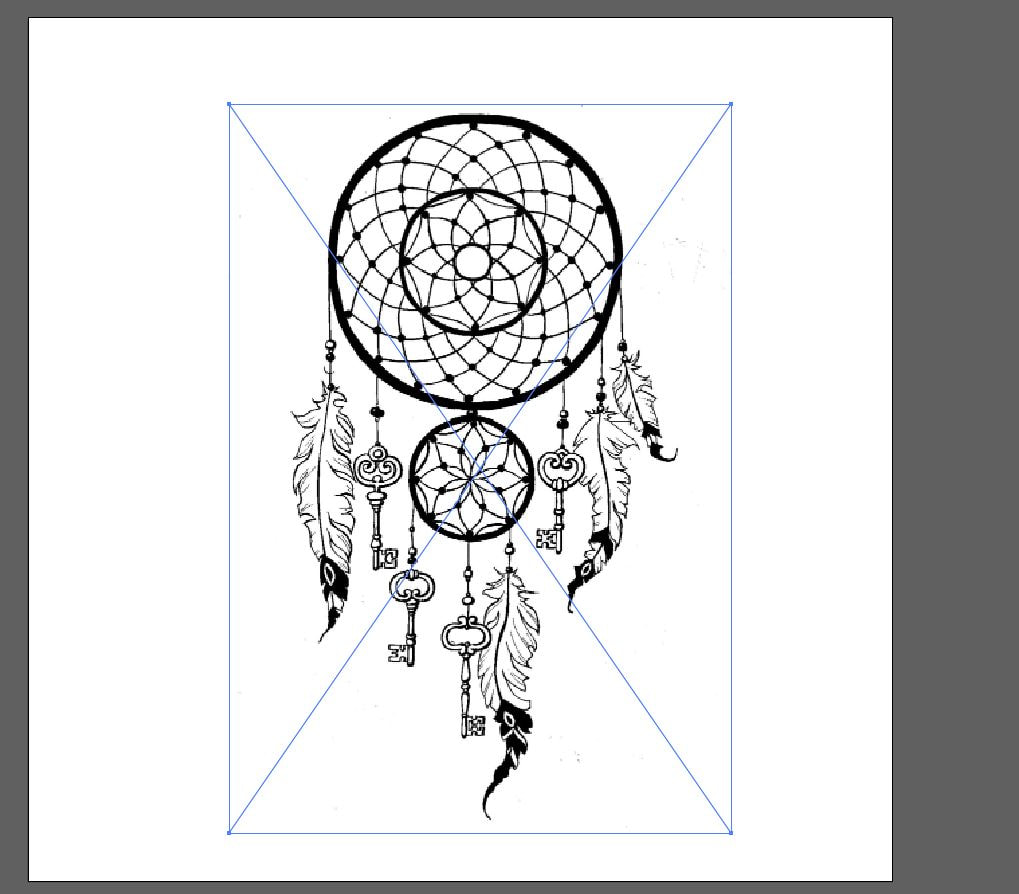
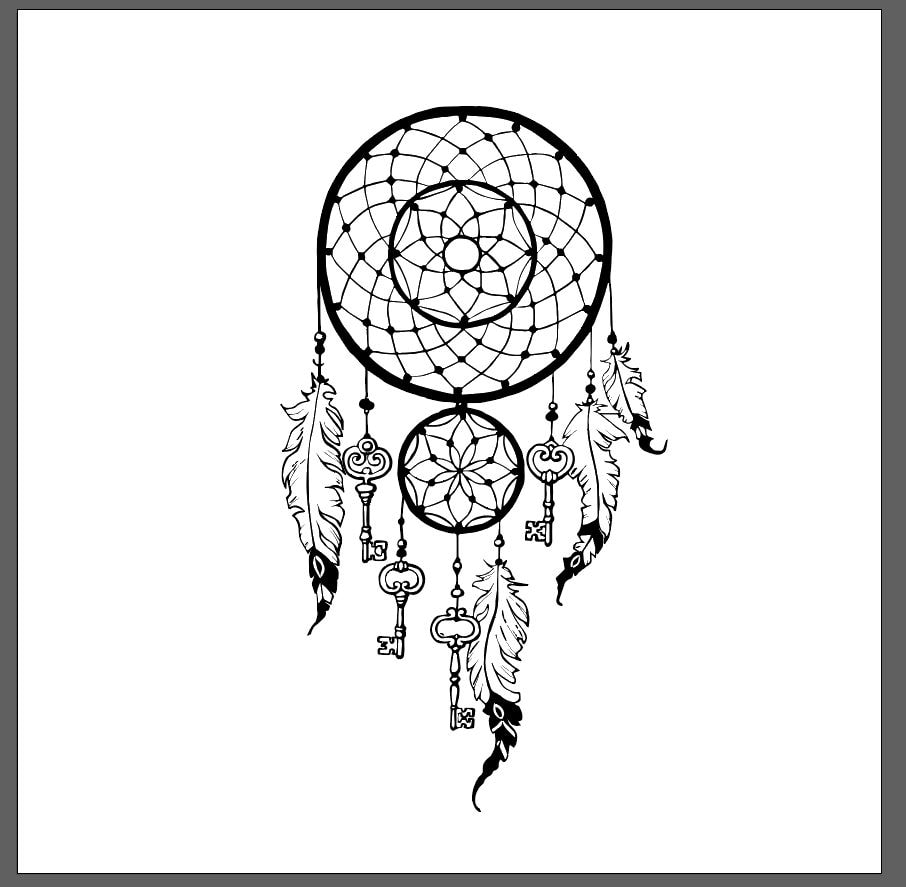
Then I turned it into a vector image so I would be able to manipulate it in Illustrator.
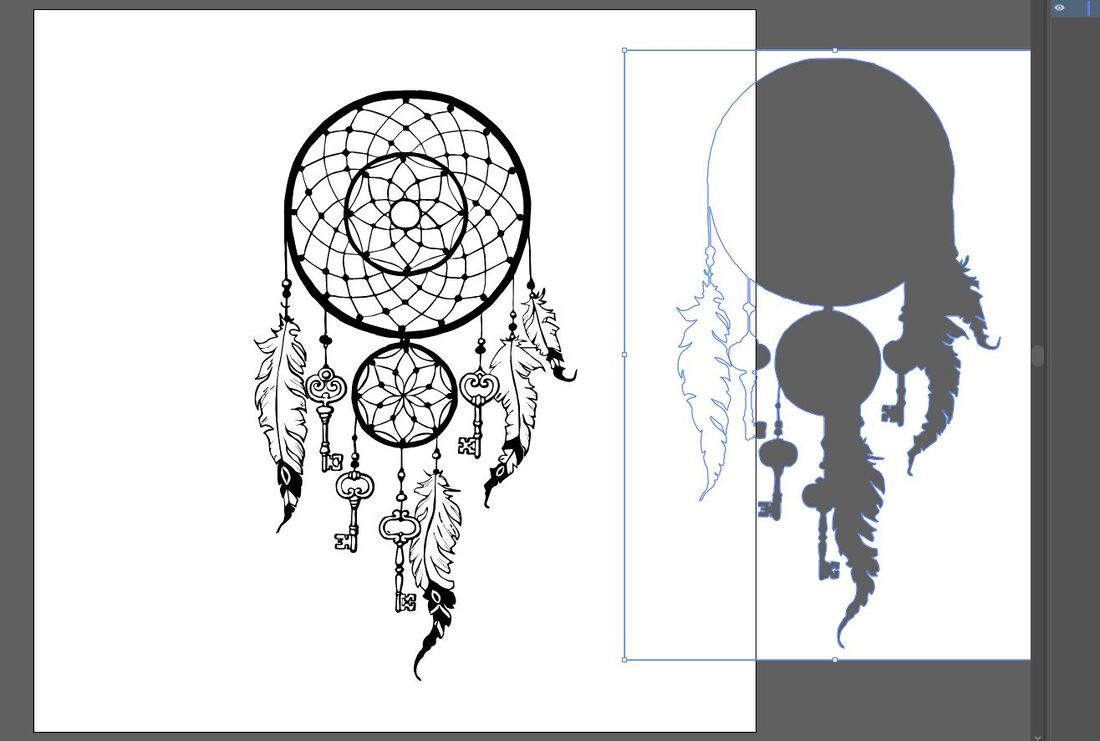
Since it was still the full image, I pulled away and got rid of the background.
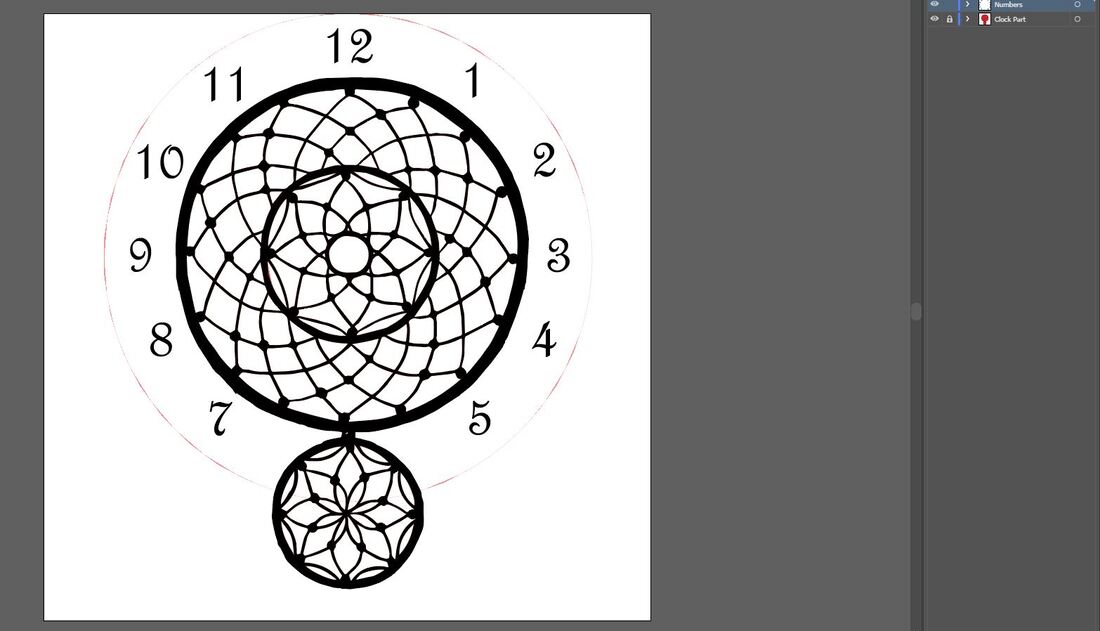
Next, since I wanted the holes to be cut out, I temporarily moved the engraved design so I could outline the holes to be cut out.
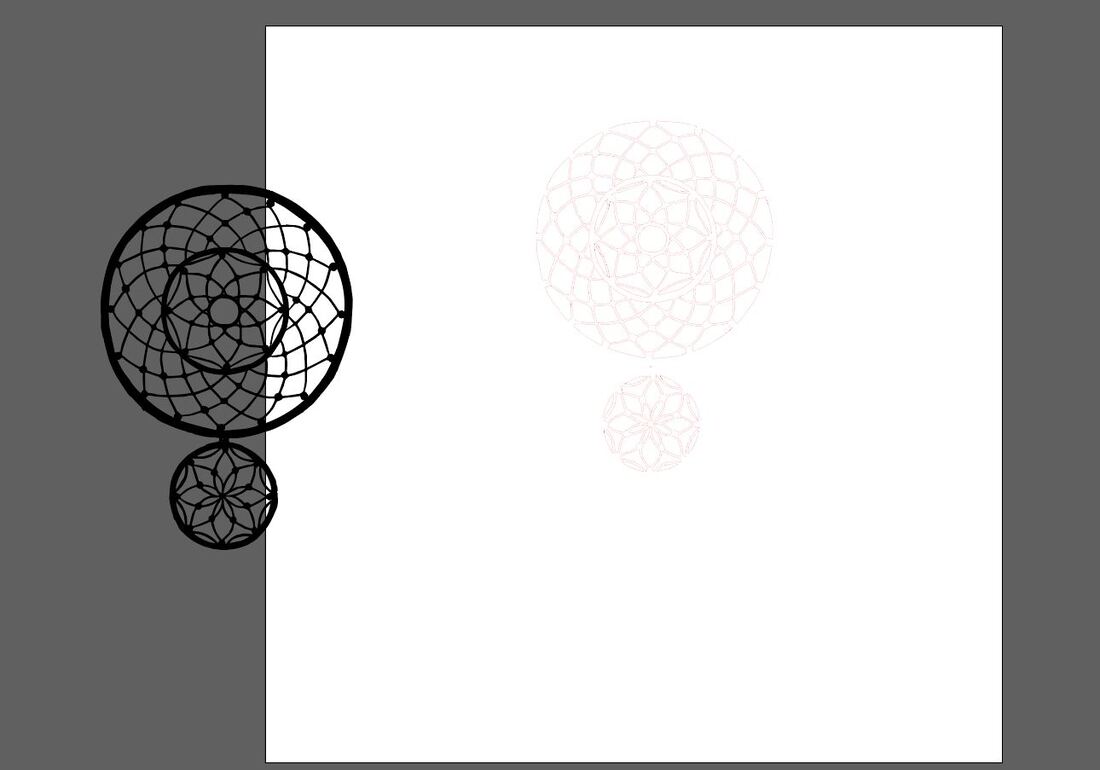
I merged it all together. This design will be engraved.

Next I created the actual background of the clock. I needed this because I needed somewhere to stick the numbers.
Next I added the numbers and arranged them
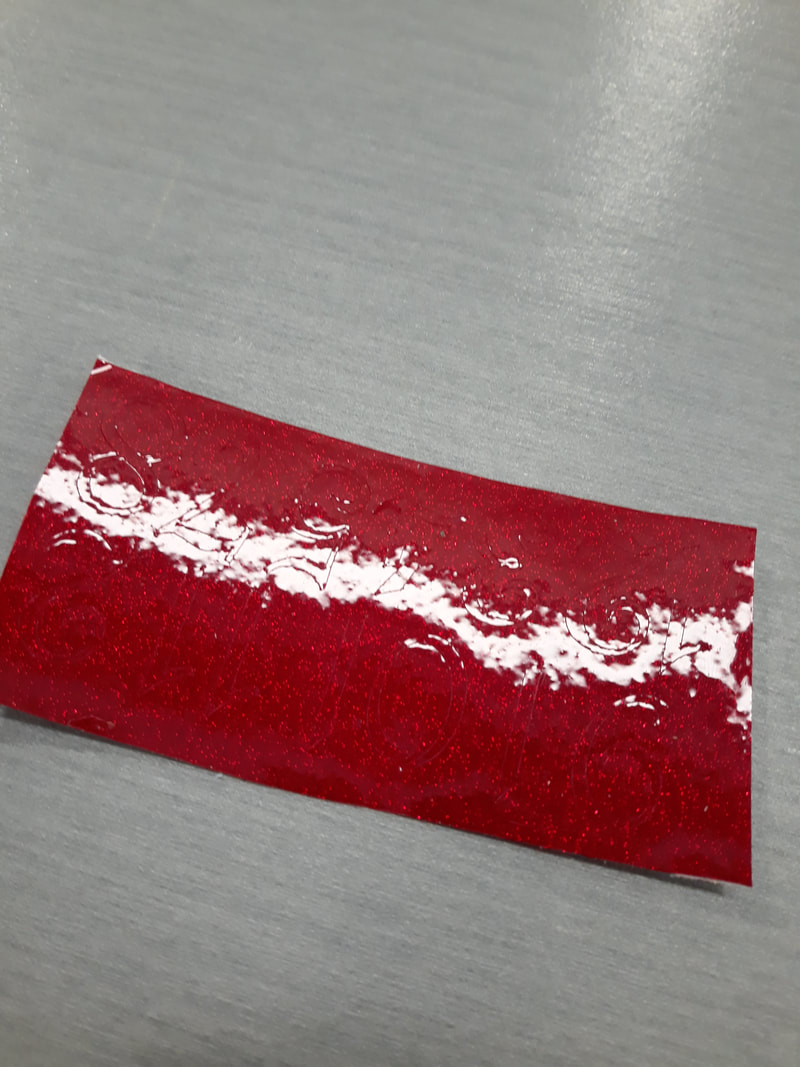
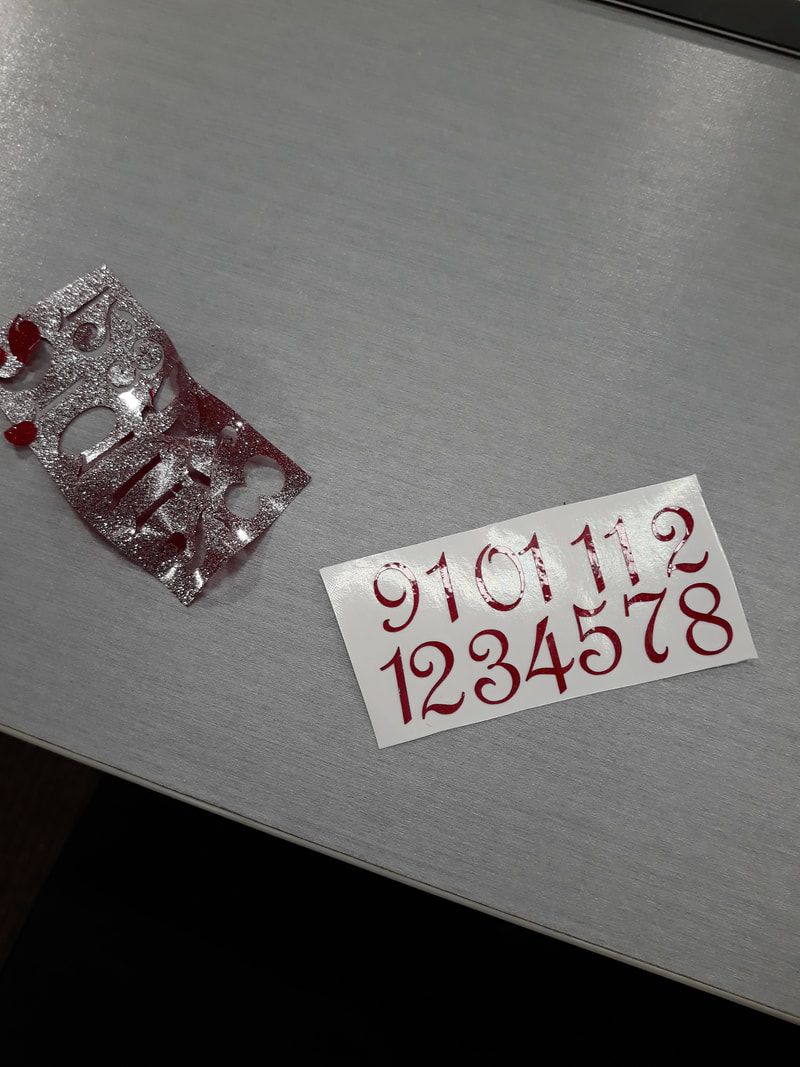
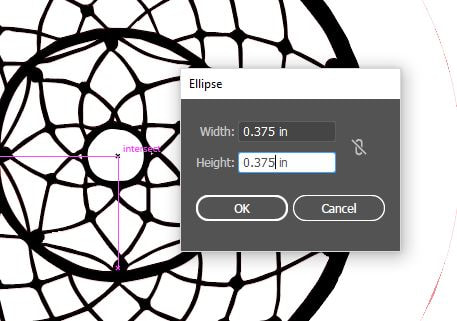
Since they were being cut out of vinyl, I had to change the stroke weight and color.
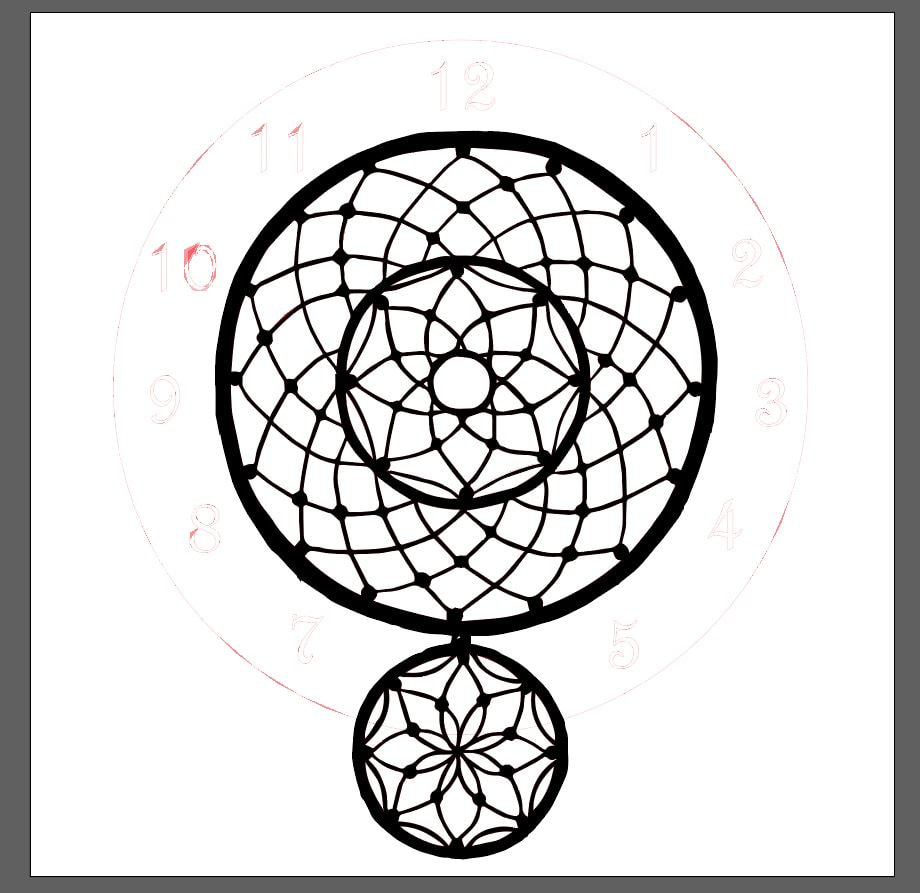
I temporarily moved the numbers so they would be an appropriate size for the vinyl cutter.

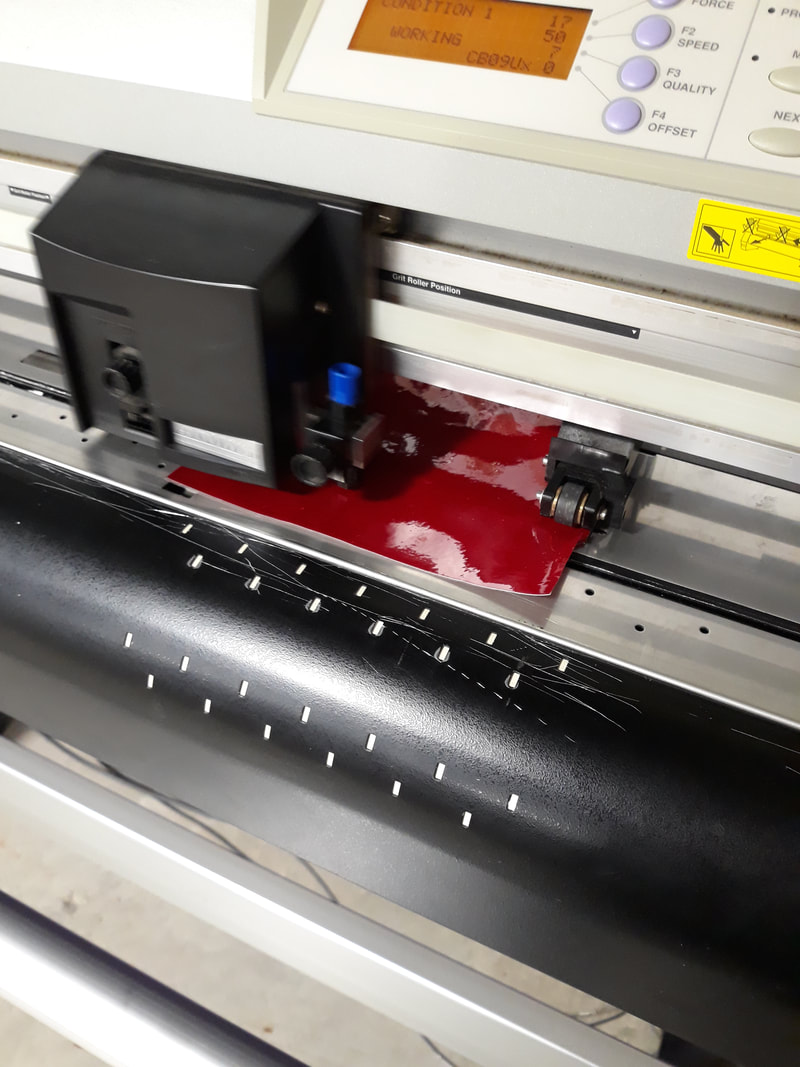
Then I loaded the vinyl. This is the machine in action.
I really like the color I picked out, but the numbers are so small that the sparkles barely show up.
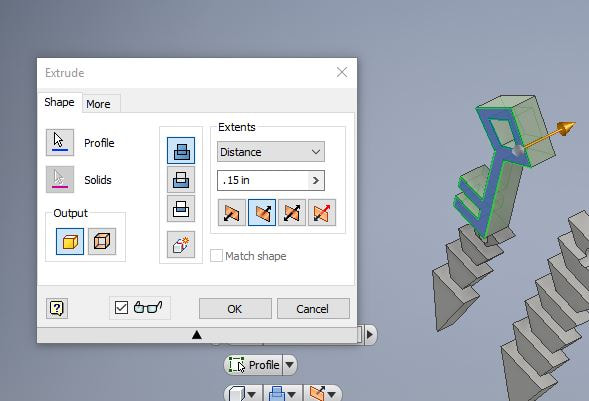
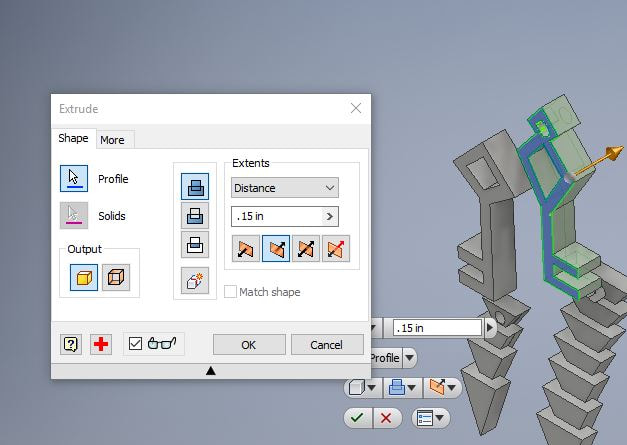
Next I started creating the feathers and keys in inventor.
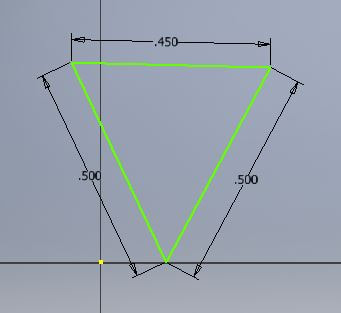
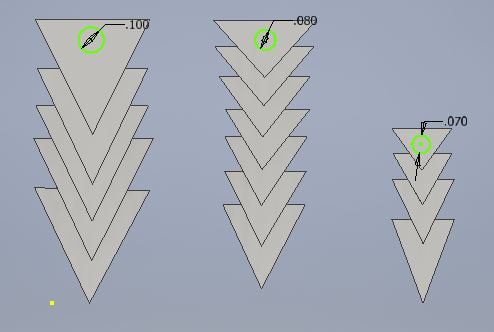
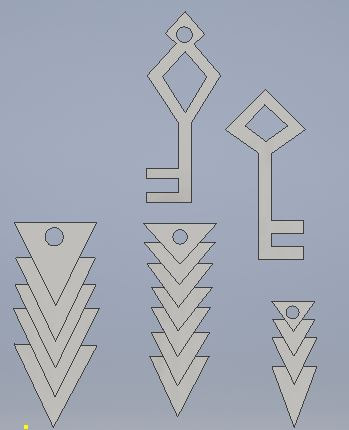
The feathers are kind of like geometric triangles stacked on top of each other, so I started with a triangular base.
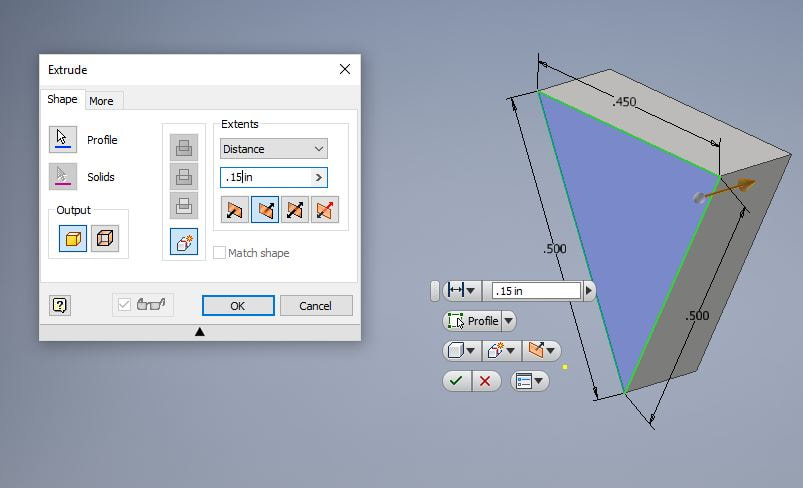
I created the next triangle, approximately the same size as the last one.

I kept repeating this process until I felt the feather was done.
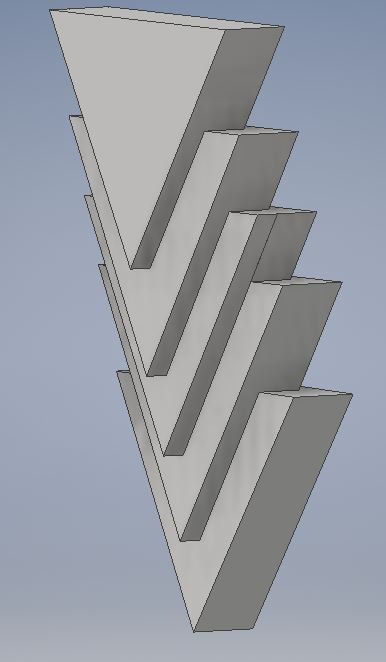
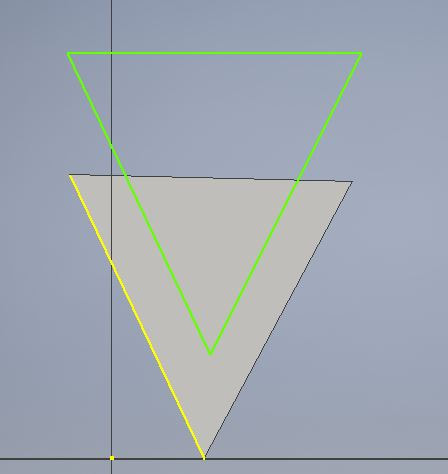
I started the next feather. The overlap and general size for this one is a little smaller than the first one, as I wanted all the feathers to be slightly different.

I started the third feather. This one was a lot smaller, and I started with a narrower base.
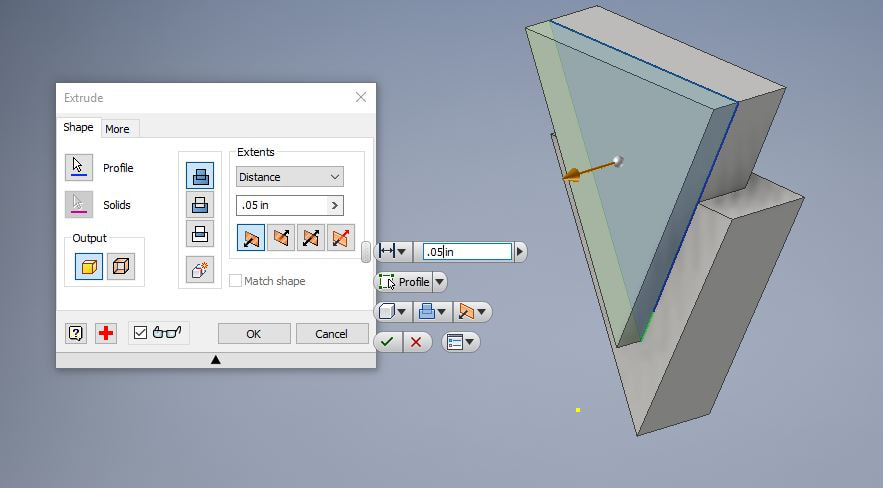
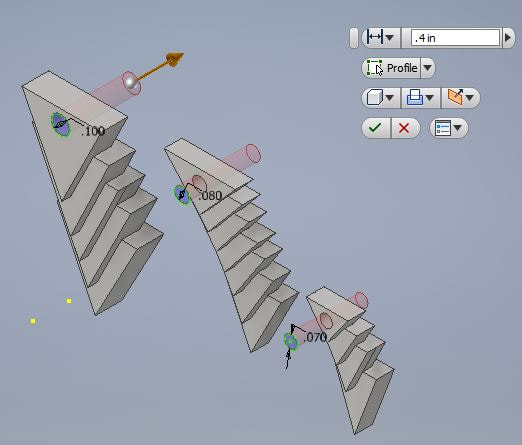
Next I added the holes so they could be hung with string or wire.
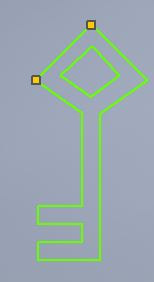
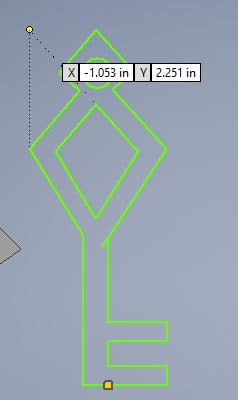
Then I started on the keys. They are both very similar, so I may not use both in the final design.
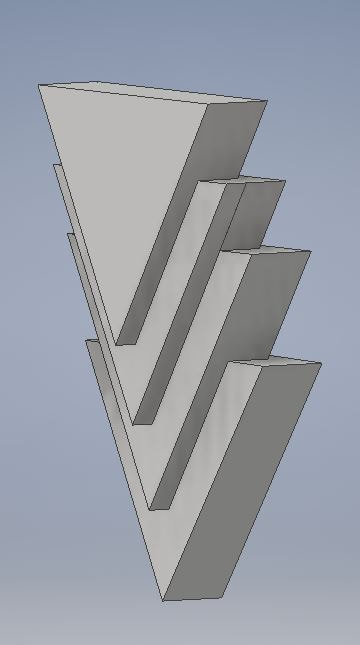
This is what all of them look like together.
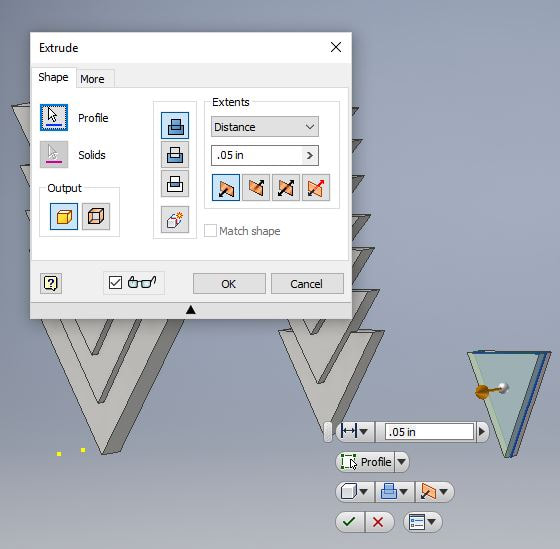
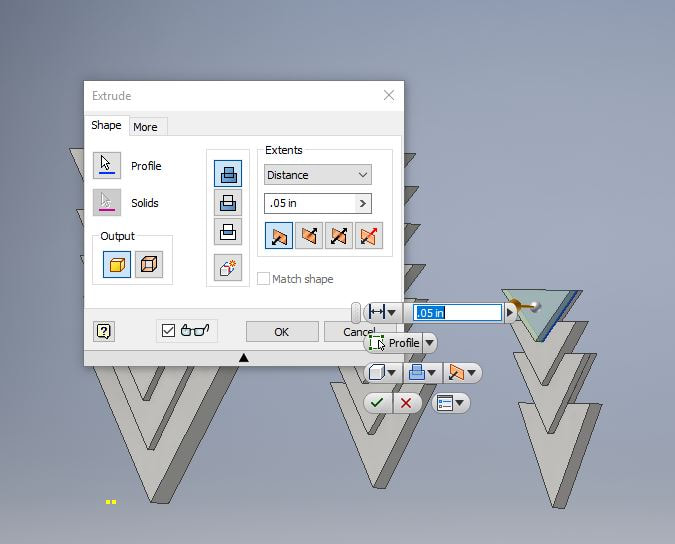
Before I went to the printer, I added the center hole for the rotor to fit through.

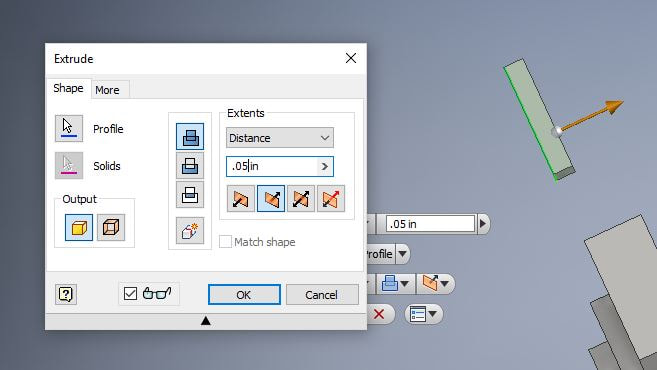
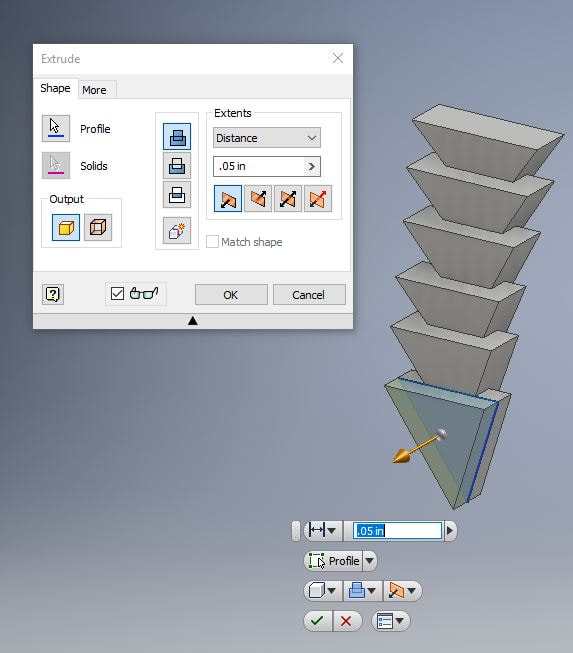
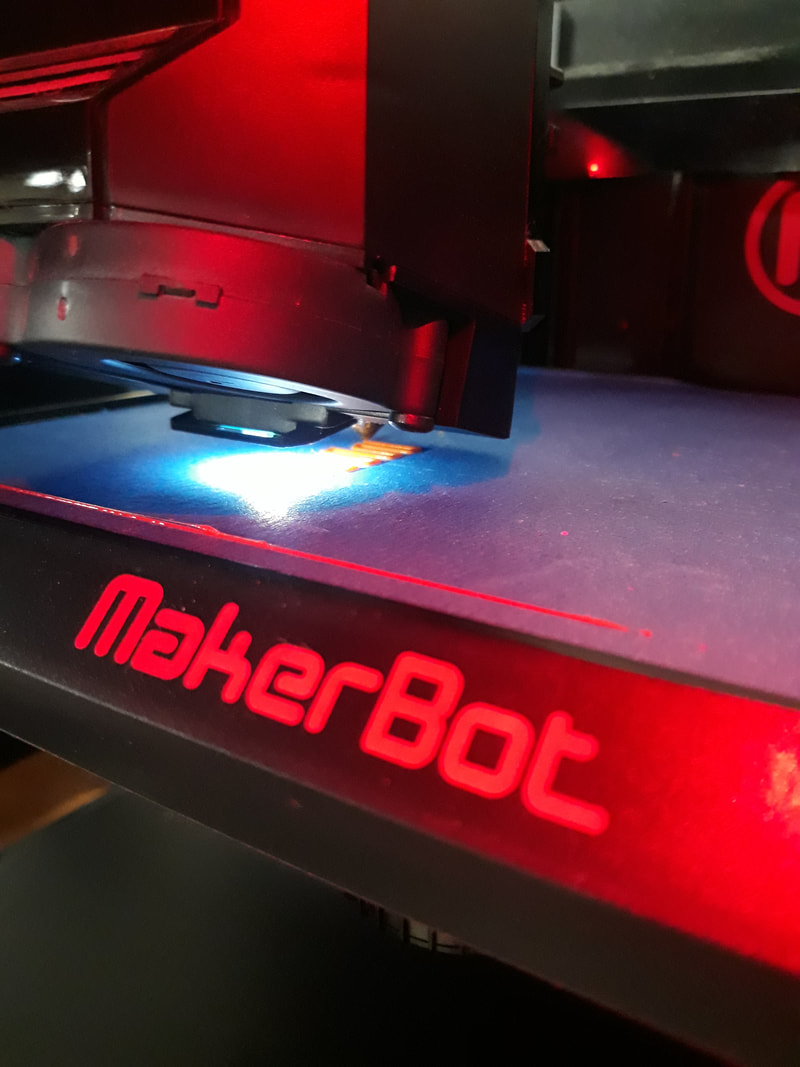
Before I went to the printer, I uploaded the Inventor file into MakerBot. I had to turn on supports because the feathers were a lot like stairs.
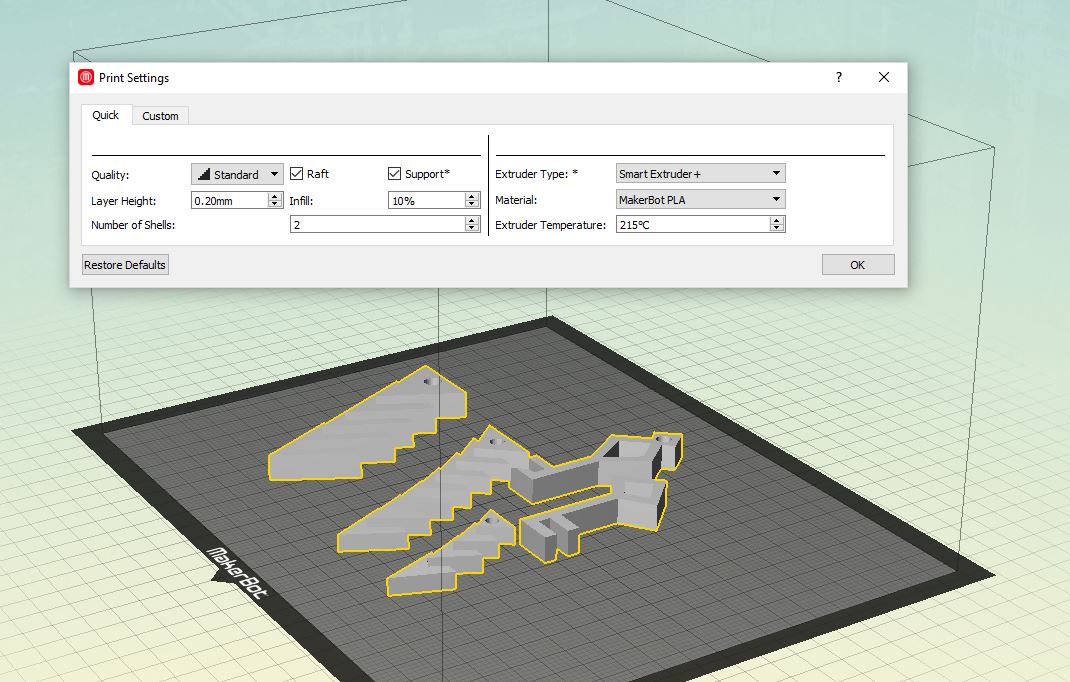
Next I loaded it into the 3D printer. I chose orange for my color, which I thought would go well with the tan of the wood base and the red of the numbers.
Next I went back and added two new holes towards the bottom of the base so there would be more space to hang the feathers.

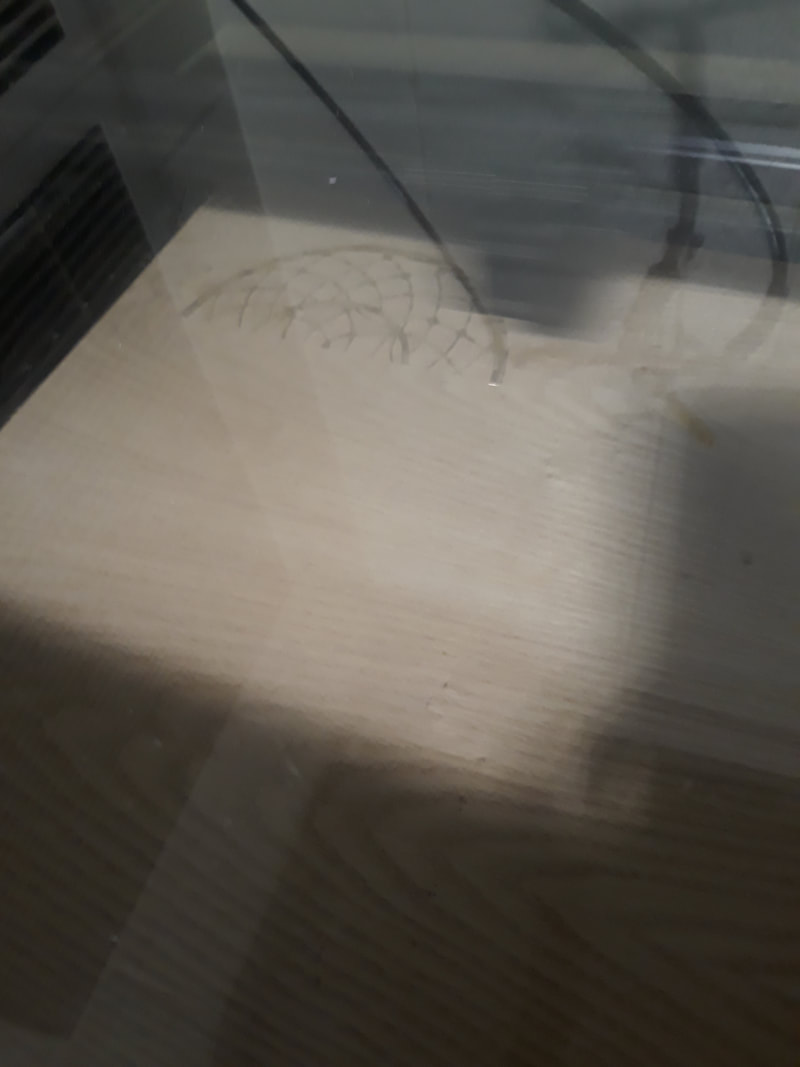
Next I set the design up in the laser and started engraving and cutting it out.
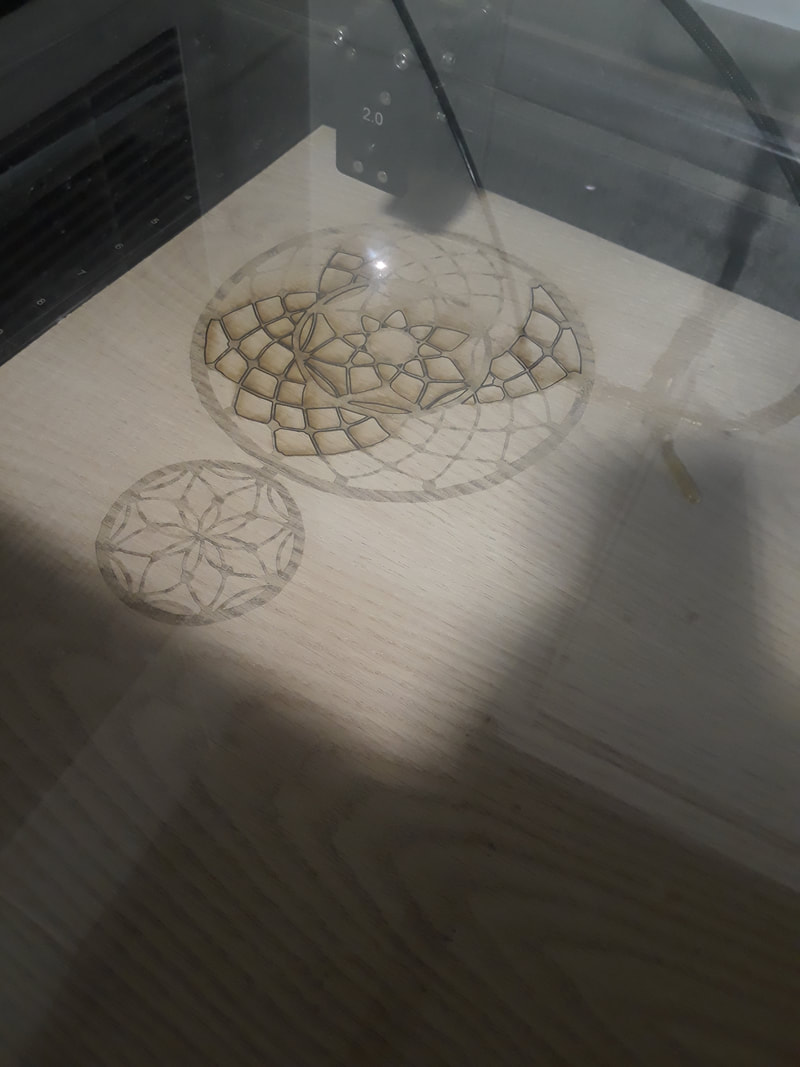
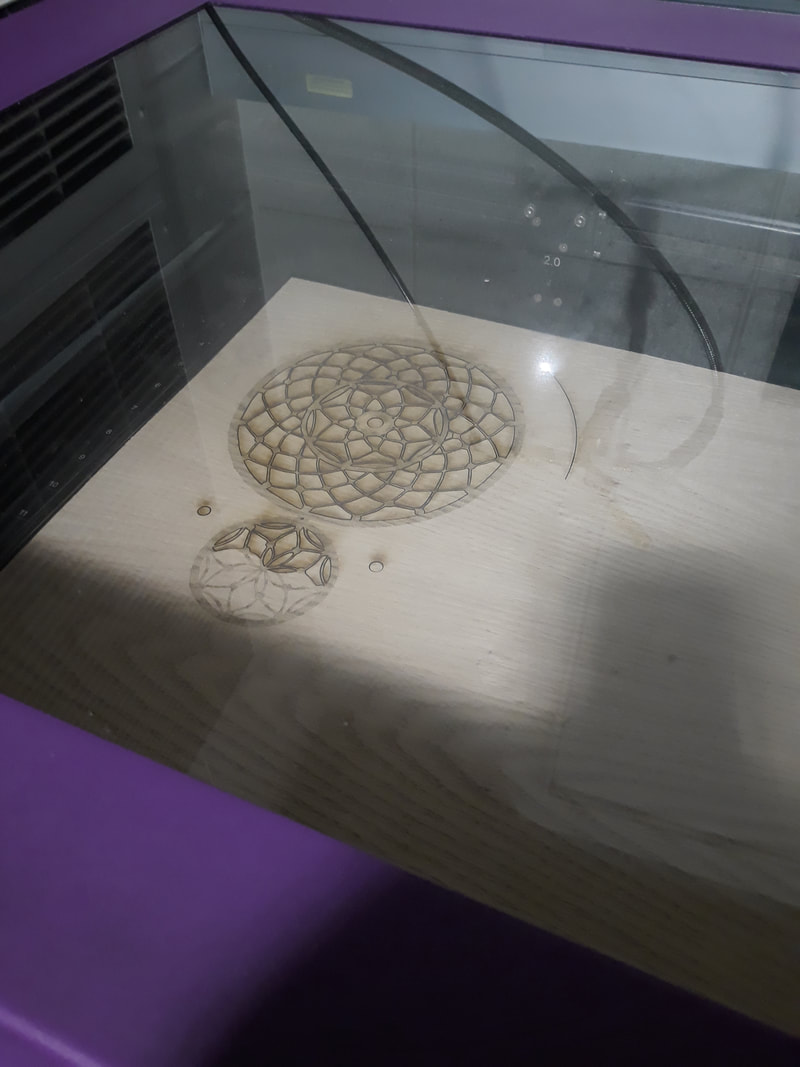
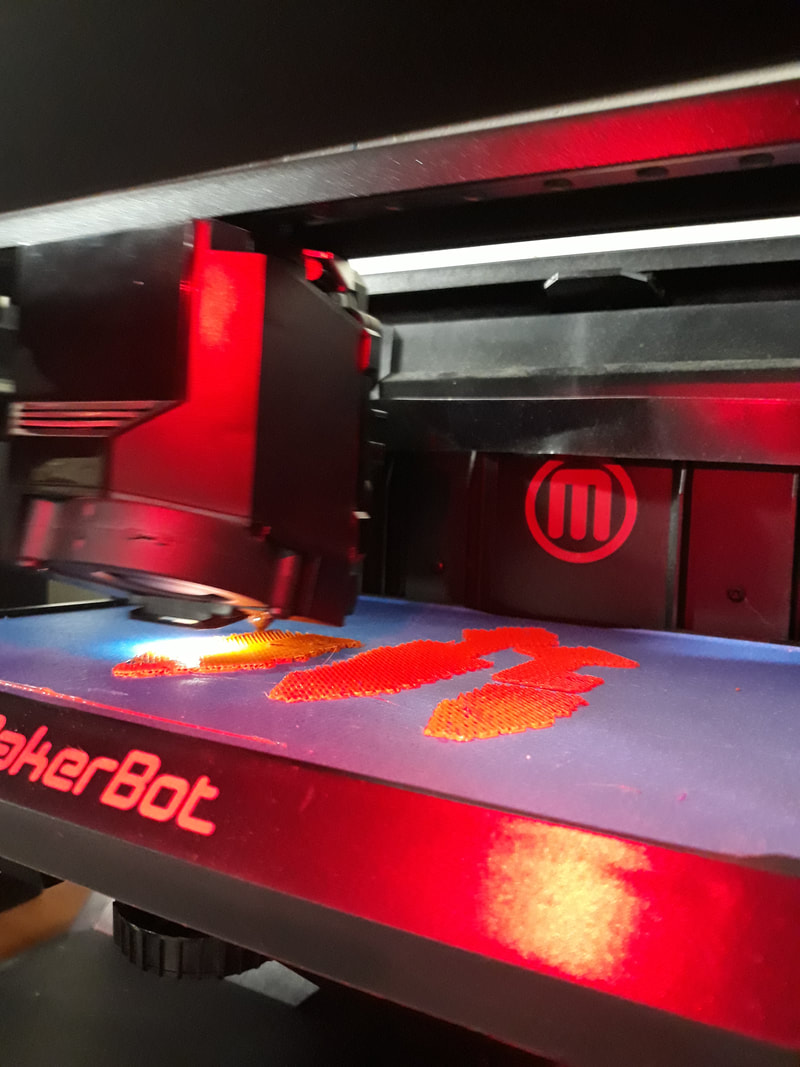
This is where things started going terribly wrong, and I had to redo both my clock base and the 3D print. I had to cut a new base because shortly after that last image was taken, the laser sliced through my design, caused by a design error, and the whole thing was ruined. I also had to redo the feathers because when I was building them in Inventor, some of them were higher in the "air" than the others. When I went to print them, they started printing mid-air, so they whole print had to be scrapped.
I went through to fix the design, simply by taking the two problem feathers out of the design. Here it is printing for a second time, this time in white.

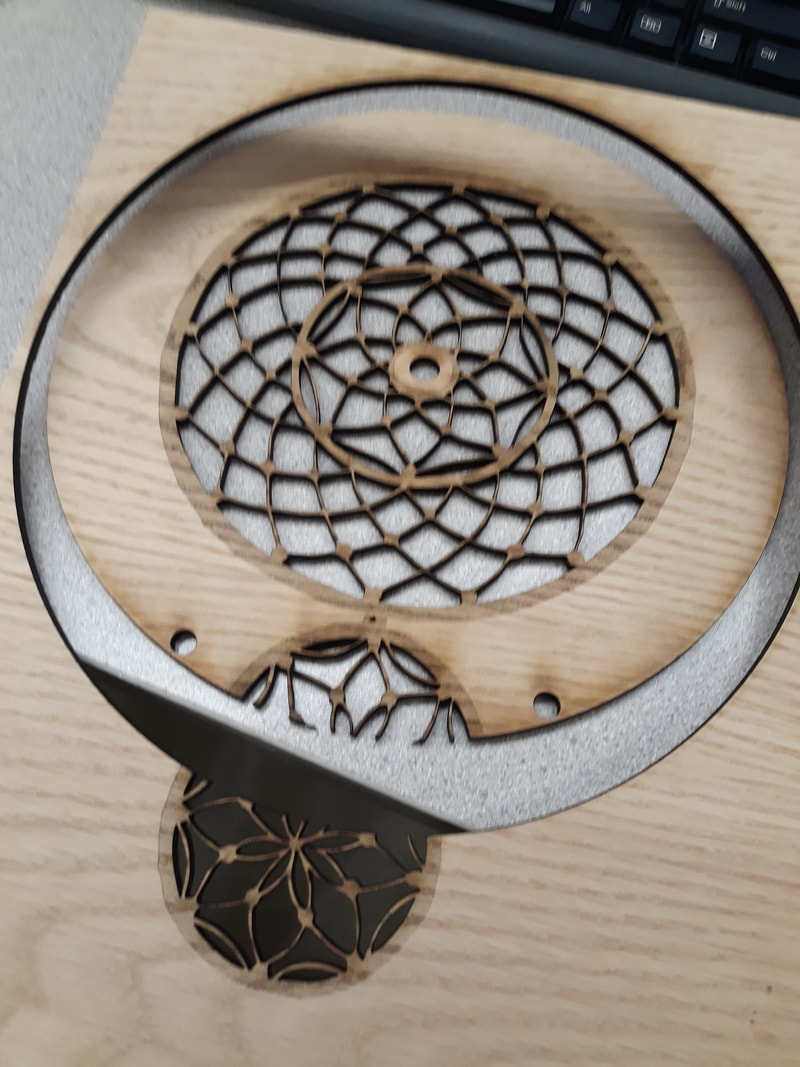
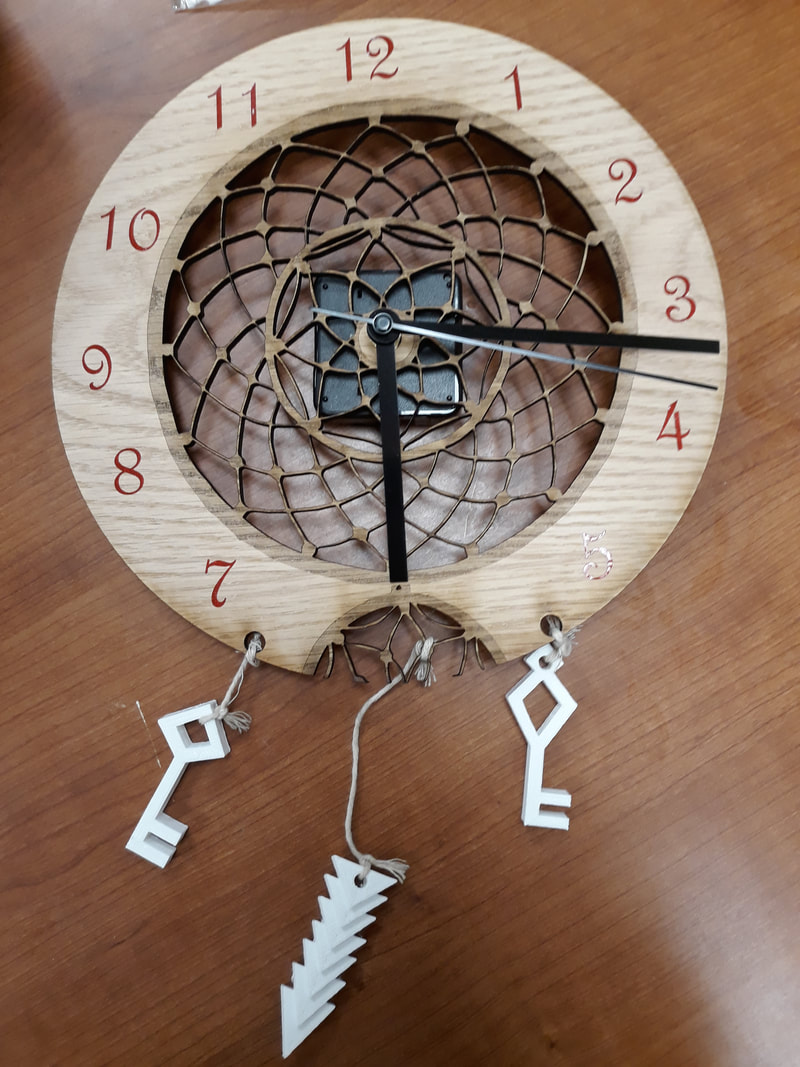
The second base wasn't cut all the way through for some reason, so I just used the first. I attached the numbers and feathers/keys, and I tried to make the best of it.
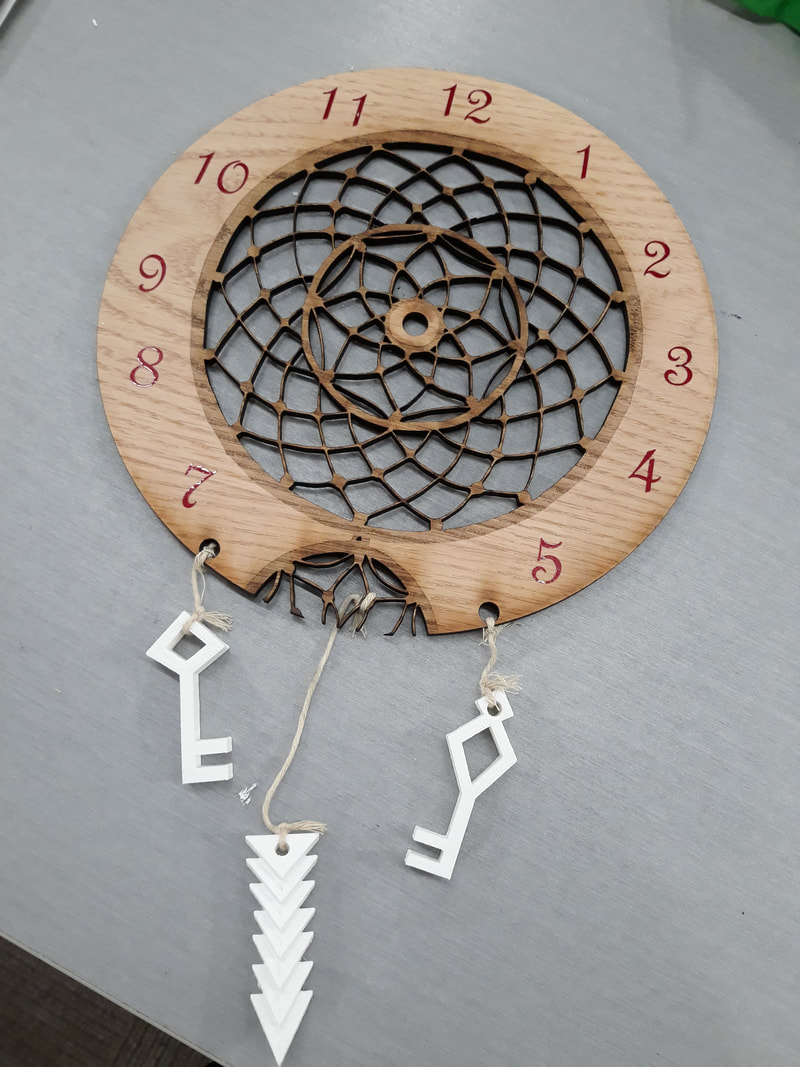
This was the final design, and I'll be honest, I'm not too happy with this one. I waited too long to start, and I couldn't figure out a way to figure out how to fix the Illustrator file. I had wanted to use this in my room, but I messed it up.
What I learned from this project is that time management is more important than almost anything else because if you don't have enough time (or are bad at planning), then your project will get rushed and you will get really stressed out. Because I apparently didn't look over my things well enough (or assumed certain parts would be fine), I ended up having to redo almost everything, and it didn't even work.
